Buttermilk Pancakes

IMG_3257When I want pancakes, I want them now! I’m never organised enough to make pancakes as most recipes want you to rest the batter before cooking it. Not this one! These pancakes are fluffy and delicious – the only trick is to remember to have some buttermilk in the fridge to make them. I first made these on a new year’s day several years ago and they came out perfectly, even if we were feeling a bit seedy from the night before. Sifting through my parents assortment of cookbooks I found this one in Stephanie Alexander’s The Cook’s Companion Vol 2.

Serves 6 (just)

Ingredients
3 eggs, separated
2 cups buttermilk
60g butter, melted
300g plain flour
1 tsp salt
1 tsp bicard soda

Method
In a large mixing bowl, beat egg yolks well, then whisk in the buttermilk and melted butter.
Sift flour, salt & bicarb soda over the buttermilk mixture and fold through.
In a separate bowl, whisk egg whites to soft peaks. Fold through the batter until fully incorporated, being careful to not beat out too much of the air.
Heat a large frypan over a medium heat. Coat the pan in melted butter to get a crispy edge to the pancakes and bake in batches of 2. If you want to keep the already cooked pancakes warm put them in the oven turned up to 100°C. Alternatively, if you have a BBQ hotplate you might even be able to get them all cooked in 2 batches.
Serve with your choice of toppings. I can’t go past fresh berries and maple syrup…yum!
If you’ve got a few guests for breakfast why not also serve some bircher muesli – easy to prepare ahead of time.

If you’ve enjoyed this post please like it on Facebook, or even share it. Thanks! x

Dumplings

IMG_3812
Chinese New Year has just gone, so it’s a great time to add these to your repertoire (if I had been more organised I would have put this up sooner). I don’t typically like dumplings. I find them smooshy, gooey and watery…plus I can never be to sure what’s in them when I buy them, just like when I buy a meatpie…what’s in there?! When I make them myself I know what’s going in them! They are the best dumplings I have ever had, if I do say so myself! They can be steamed or cooked pot-sticker style. I prefer to pot-sticker them as I like the texture of the crunch on one side and softness on the other side.
Although this recipe is for chicken dumplings you can substitute the chicken for other meats. Pork or chicken & prawn or pork & prawn all work very well.
I planted some Wombok this year especially for dumplings. I was surprised that it came up so well. However, it had to be picked pretty quickly once it was ready and I’m sad so say it once made it into one batch of dumplings and the rest went to seed in the veggie patch…there are just not enough hours in the day!
IMG_3113_fotor
Makes 24

Ingredients
2 cups flour
3/4 cup boiling water
1 chicken breast, minced
2cm cube piece of ginger, finely grated
1 Wombok (chinese cabbage), shredded
4 spring onions, finely sliced
2 tbsp soy sauce
2 tsp sesame oil
1 tbsp chinese rice wine
1 tbsp vegetable oil
Dipping sauce
2 tbsp soy sauce
1 red birdseye chilli, finely sliced

Method
Make the dough first as it will need to rest (if you don’t want to make the dough you can always buy gow gee wrappers from the supermarket). Combine the flour and water (make sure it is just boiled) in a food processor until just combined. Remove the dough and knead by hand for a couple of minutes. Wrap in cling wrap and set aside while you make the dumpling mixture.
For the dumpling mixture all that needs to be done is combine all the ingredients. Make sure the ingredients are all covered in the sauces. Be careful the mixture isn’t too sloppy as this will make the dumplings very difficult to handle – plus they’ll taste a little sloppy.
IMG_3907Now the dough needs to be rolled out, make sure you flour the bench sufficiently along the way. I find it’s easiest to divide the dough into two and roll it into a log with a diameter of about an inch. Then chop into rounds that about about 10g each. One by one roll the dough into thin rounds. Place a round of dough in the palm of one hand and scoop 1 tbsp of dumpling mixture into the middle. Enclose the mixture by folding over the dough and pinching the edges together. You can also make pretty patterns! Place the dumplings on a floured tray (the sloppier the dumpling mixture the more likely they are to stick to the tray).
If you want potstickers heat the vegetable oil in a  frypan that has a lid. Arrange the dumplings in the pan on their sides and cook on a medium heat for about 4 minutes, or until they start to brown on the underside. Pour in 1/2 cup of water and cover with the lid. Once the water has evaporated remove the lid and continue to cook for a couple of minutes. Remove from the pan to a platter. Combine the soy and chilli and serve with the potstickers (the earlier you do this more the soy will take on the chilli flavour – we like to do this early!).

If you don’t want to eat all the dumplings at once place the dumplings in the freezer on a tray. Make sure the dumplings aren’t touching each other. Once they are frozen you can put them in a container or plastic bag. Defrost before cooking according to the above method.

If you’ve enjoyed this post please like it on Facebook, or even share it. Thanks! x

Healthy Muesli Slice

20140126-070257.jpgDespite my morning muesli or bircher muesli habit I can’t make it from breakfast to lunch at the moment. Something about eating for two it seems. I had developed an unsustainable muffin habit. Nipping across the road to the bakery when I got a chance in the morning had become too easy. Something needed to be done so I decided I would try and find a healthy alternative and I love this one!
Most muesli slice recipes I found were packed with butter and sugar, not this one! I eventually found a good healthy base and tinkered with it to come up with this. It has some honey for a little sweetness, oil for fat and egg for binding. The rest is pure goodness. I can make a tray (20 cm square tin) of this and it will last me over a week, it keeps really well in an airtight container for over a week.
You can add whatever dried fruit and nuts you like, just be careful not to alter the quantities too much so that it still all binds together when baked. I have also been thinking of substituting the oil for melted butter – it’s not that much after all. The LSA meal can be bought pre-made or you can make it yourself with equal quantities of linseed, almonds & sunflower seeds. Just grind them up in a food processor, which is what I tend to do. Only make what you need as once you’ve ground it up the fats are exposed and may go rancid if not used soon. Keep any left over in the fridge.
Makes 9 squares

Ingredients
60g LSA meal
230g rolled oats
20g sunflower seeds
15g shredded coconut
35ml olive oil
65g honey
2 eggs, lightly beaten
80g dried fruit (in this picture I’ve used chopped dried apple, apricots, sultanas & currants)
30g roasted almonds, chopped (can be substituted for another nut, such as roasted cashews or hazelnuts)
1 tsp vanilla extract
1/3 tsp cinnamon

Method
Preheat oven to 180°C.
Combine all dry ingredients in a mixing bowl, then add the oil, honey & egg. Make sure that all the dry ingredients are  coated in the wet ingredients. Pour into a lined square baking pan and pack down in the back of a spatula.
20140129-060308.jpg
Bake for 25 minutes, or until golden. Allow to cool for at least 15 minutes before removing from the pan to cool completely. Cut into individual portions. Cutting into 9 gives me the perfect portion for a morning snack!
20140129-060257.jpg

Looking for a different morning snack, but one that’s also not tooooo bad for you? Try the Rhubarb & Apple muffins.

If you’ve enjoyed this post please like it on Facebook, or even share it. Thanks! x

Galette des Rois

IMG_3805
The Galette des Rois (King’s cake) is the traditional treat/pie/cake used to celebrate Epiphany in France. It’s basically an almond cream sandwiched between two sheets of puff pastry…how can you go wrong?! Although Epiphany usually falls on January 6th, the Galette is usually available throughout January in French patisseries. I may have missed January 6th for this post but at least it’s still January! When I was 15 I went to France on exchange for 3 months – luckily I didn’t come back home until the end of January. I loved the Galette so much we had one almost every single day at lunch.  It is just so delicious and to my surprise quite easy to make!
There is a fun little ritual that goes with it too. Hidden inside the Galette is a fève – typically a dried kidney bean or a small little ceramic trinket. The bakery who made the best Galette (in our opinion) had obviously stocked up on little ceramic boats, therefore I also have quite the collection of boats!
IMG_3831
Anyway, the Galette is cut into portions and the youngest member of the party is to hide under the table as to not sneak a peak of where the fève may be hiding in the Galette . Once divided the host points to a portion and the youngest will be asked “pour qui?/for who?” This continues until everyone has a portion. Whoever gets the fève is then the king or queen for the rest of the day. When purchased from a bakery you will typically be given a paper crown to take home with your Galette. How fun!

Ingredients
2 sheets puff pastry – fresh or frozen, whatever you’ve got on hand
100g sugar
100g almond meal
100g butter, chopped & chilled
2 eggs
1 tbsp rum (optional)
egg wash (1 egg & 100ml milk)

Method
Preheat the oven to 180°C.
Defrost the puff pastry if using frozen.
To make the filling put sugar and almond meal in a food processor. With the motor running add the chopped butter and beat until the consistency of breadcrumbs. Still with the motor running add the eggs and rum. Process until combined. If you don’t have a food processor simply combine the sugar and almond meal. Rub the butter into the mixture with your fingertips until it resembles breadcrumbs. Beat in the eggs and rum.
Lay out the pastry and cut a 21 cm round and a 24 cm round. Place the smaller round on a baking tray lined with baking paper. Pile on the filling and spread it out leaving a 1.5 cm border around the edge. At this point hide the little fève in the mixture, pushing it down so that it won’t be evident through the pastry. Brush the edge with the egg wash and lay the other round on top, gently sealing the two layers together around the edge. Using a sharp knife decorate the top in any pattern you like. Poke some holes through the pastry for steam to escape during baking. Brush with egg wash.
IMG_3803
*Tip: When dealing with puff pastry try not to brush with egg wash on the sides of the pastry – this will limit the pastry from rising to its full potential.
Bake in a oven for 25 minutes, or until golden brown. Allow to cool before serving.

If you’ve enjoyed this post please like it on Facebook, or even share it! Thanks x


Peppermint Choc-chip Ice Cream

IMG_3815
It was pudding’s birthday recently. What do you buy someone who lives in Darwin where it’s always hot? An ice cream maker of course! So it’s about time I get an ice cream recipe up here so he can actually use it!
Peppermint choc-chip is my all time favourite ice cream. I was in the garden this afternoon watering the veggie patch and noticed the peppermint I planted a couple years ago, and subsequently relocated to a pot, was taking over the strawberries…again. Hot tip: Never plant peppermint or mint in the garden, always plant it in a pot. No matter how many times you think you’ve ripped all of it out, it reappears! So I didn’t need much more of an excuse to apply the freshly picked peppermint to a good use.
Makes about 1L of ice cream

Ingredients
250ml milk
500ml cream
150g caster suger
Bunch of peppermint or mint, leaves picked
6 large egg yolks
90g dark chocolate, or milk if you prefer

Method
In a heavy-based saucepan combine milk, sugar, 250ml cream and peppermint leaves and bring to the boil. Remove from the heat and steep for half an hour. Pour the mixture through a sieve and push as much flavour out of the peppermint as you can, or want to.
Reheat the milk and cream mixture until just boiling. Meanwhile, whisk the egg yolks in a separate bowl. Once the milk mixture is ready whisk into the egg yolks. Pour back into the saucepan and heat over a low heat, stirring constantly. The mixture will thicken, don’t take your eye off it, and is ready once it reaches 80°C or the mixture coats the back of the spoon – if you run your finger across the spoon the mixture shouldn’t run back together.
IMG_3802
Remove from the heat and whisk in the remaining 250ml of cream. Chill the mixture and churn in the ice cream machine according to manufacturer instructions.
While the ice cream is churning melt the chocolate in a double boiler arrangement. Once churned pour the ice cream into a container little by little.  Drizzling the chocolate over the ice cream, like you’re creating layers through the ice cream. When scooping the ice cream it will break up into delicious little chunks. Place in the freezer for a couple of hours to properly set. YUM!
IMG_3809

If you’ve enjoyed this post please like it on facebook, or even share it. Thanks! x

Bircher Muesli

IMG_3332
I’m a muesli girl. I find nothing else will see me through the morning until lunch. This is an excellent alternative to mix up my morning muesli (which is homemade also). It is also perfect when having people over for breakfast or brunch. We served it up at our wedding brunch and it met rave reviews!

This recipe was adapted from Jill Dupleix’s Fresh Apple Muesli. Serves 4

Ingredients
2 cups rolled oats
1 cup water
1/2 cup natural yoghurt – or flavoured if you prefer
2 tablespoons honey
1 tablespoon wheatgerm
2 tablespoons chopped nuts – I prefer almonds
1 banana, mashed
1 granny smith apple, grated
berries or dried fruit – chopped strawberries & blueberries are my favourite additions, but the sky’s the limit here.

Method
The oats are best soaked overnight. There are 2 ways to do this. Soak the oats in the water overnight and in the morning mix through all the other ingredients. OR (this is my preferred method because I like to do everything at once and avoid extra work in the morning!) you can throw all the ingredients together (oats, water, yoghurt, wheatgerm, banana & apple) and add the nuts and extra fruit just before serving. Either way it’s super simple! If you haven’t been organised to prepare it all the night before it doesn’t taste half bad when eaten straight away!

If you’ve enjoyed this post please “like” it on Facebook, or even share it. Thanks! x

Rhubarb & Apple Muffins

IMG_3288
It’s rhubarb season in Warragul. Well, it has been for a while but this is the first chance I’ve had to write about it. I have been cooking with it…and giving it away. We get a lot of traffic past our place. If we ever want to get rid of anything we know it won’t last long on the nature strip. Andy and I had an argument about putting our old dishwasher on the nature strip. Andy thought no one would ever pick it up so why bother dragging it down there. I made a deal with him that if it still there in 3 hours we could bring it back inside. It lasted 2 minutes. Andy was barely back in the door before someone stopped out front with a truck! Rhubarb is no exception. Someone even left me a couple of bucks once…even though my “Free Rhubarb” sign accompanies it.
These rhubarb and apple muffins are delicious. They don’t take long to whip up. The crumble topping doesn’t have to be added if you can’t be bothered, but I can’t help myself, I love the crunch. It’s the same crumble topping I use on my standard apple crumble.
You will need 2½ fruit. I typically use 1 granny smith apple (skin left on) and make the rest up with rhubarb. If buying rhubarb you’ll need a bunch.
IMG_3268
Makes 12 muffins

Ingredients
2 ½ cups fruit, 1cm dice
120g butter, softened
1½ cups sugar
1 egg
1 tsp vanilla extract
2 cups plain flour, plus 1 tbsp extra flour
1 tsp baking soda
¼ tsp salt
1 cup buttermilk
Crumble topping
5 tbsp rolled oats
2 tbsp wholemeal flour
2 tbsp slithered almonds
1 tbsp butter, softened
1 tbsp honey

Method

Preheat oven to 180°C.
Dice the fruit and toss in 1 tbsp flour. Set aside.
Cream butter and sugar until pale. Beat in the egg, followed by vanilla.
Sift together flour, baking soda & salt. Fold half of it through the wet mixture, followed by half of the buttermilk. Repeat with the remaining flour & buttermilk.
Mix through the rhubarb and apple.
Spoon into prepared muffin pan lined with patty pans and bake in the oven for 5 minutes.
Quickly prepare the crumble topping by mixing together by hand all ingredients. After about 5 minutes of the muffins being in the oven, they should have risen slightly, remove the muffins from the oven and quickly spoon the crumble over each muffin. Put the muffins back in the oven to cook for a further 10 minutes, or until a skewer inserted comes out clean.
IMG_3264

If you liked this post please “like” it on Facebook, or even share it. Thanks! x

VJ’s Chicken Curry

IMG_2790When my parents were travelling in Canada they were taken to a very popular Indian restaurant in Vancouver called VJ’s. As a gift from their hosts they were also given a cookbook produced by the restaurant. This is the only recipe I have cooked from the book. It’s so good that I haven’t managed to cook anything else from it yet! Over time we’ve tweaked a couple of the ingredients and added capsicum and we think it’s perfect.

This curry is stunning. Delicious the night that it’s made and freezes really well too. We usually make a double batch and freeze half for a quick and easy mid-week meal. Serve with steamed rice and pappadams – delicious!

Serves 4

Ingredients
1 tbsp olive oil
1 large onion, finely diced
3 cloves garlic, finely diced
2 tbsp ginger, grated
1 tbsp salt
1/2 tsp ground black pepper
1 tsp turmeric
1 tbsp ground cumin
1 tbsp ground coriander
1 tbsp garam masala
1/2 tsp cayenne pepper (more or less to suit your palate)
1 can chopped tomatoes
1 kg chicken thigh fillets, skinless
1 red capsicum, sliced
1 cup light sour cream
1 cup chicken stock
1/2 cup chopped coriander

Method
Heat oil in a casserole dish over low-medium heat. Add onion and saute until golden, add garlic and saute for another couple for minutes. Add all spices and tomatoes and cook for about 5 minutes until the oil starts to separate and is very fragrant.

Add chicken and cook for 10 minutes until all white. Add capsicum, chicken stock and sour cream. Simmer for a further 15 minutes until chicken is cooked through. Let chicken cool slightly and pull apart to bite sized pieces. Stir through chopped coriander and serve with rice and pappadams.
IMG_4013Or, if you’re feeling up to it make sure you get some naan on the go to mop up all the sauce…yummo!

Runny Yolk Ravioli

runny yolk ravioliI originally came across this ravioli on My Kitchen Rules. I must say, I’m glad I could see what they’re doing, but it is fairly straight forward, just a little fiddly.

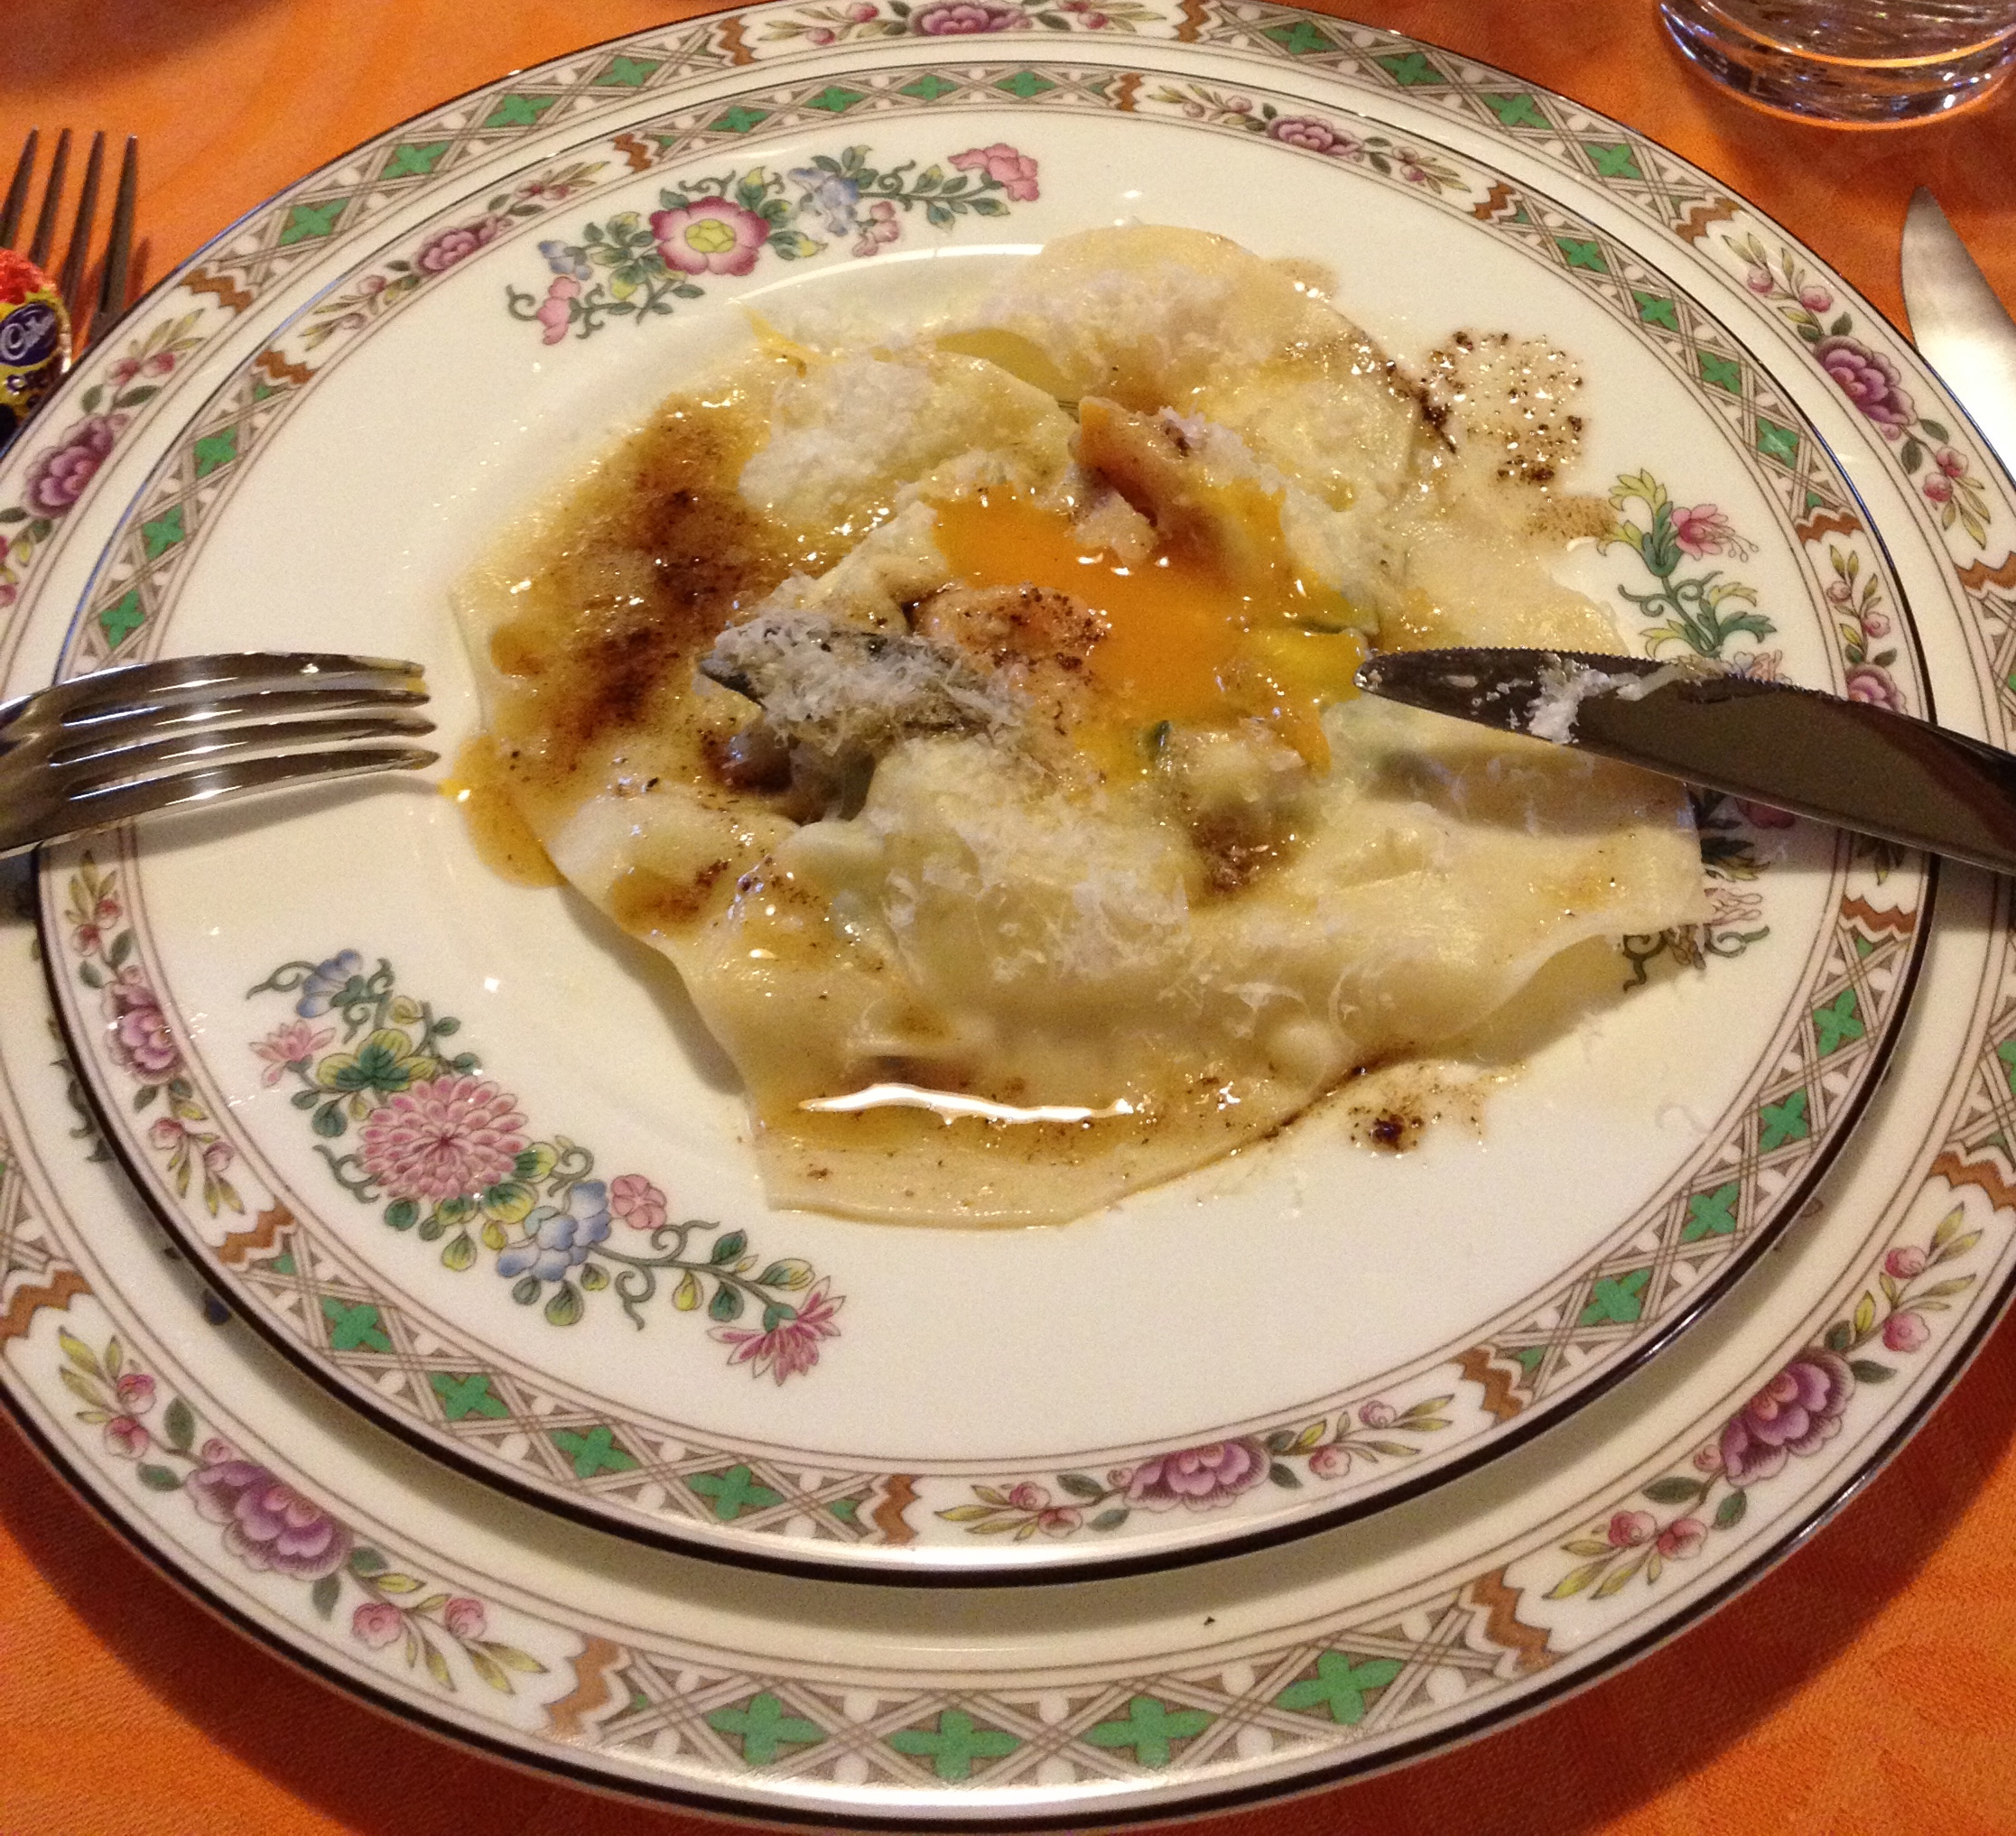
This little entrée certainly has the wow factor, but it’s also fairly high maintenance. The trick is to cook it to perfection so that when the ravioli is cut open, the yolk oozes out, just like a perfectly poached egg. It is very important that the yolk remains intact throughout preparation. There are two points when this can go wrong…when the egg is separated and when the yolk is lowered onto it’s bed of ricotta and spinach. Make sure you have a few extra eggs on hand just in case!

Unfortunately, there’s not a lot that can be prepared ahead of time. If the spinach is left to sit around for a while it will probably start to leech more water – even if you’ve already squeezed it out – and make the mixture too sloppy. The pasta dough can be made in advance (it should have about half an hour to rest) but should be rolled out close to cooking time. If the dough it dry it will be hard to stick the two sheets together to seal the ravioli – which is very important.

With all of this in mind, you’ll do great!

Serves 4

Ingredients
1/2 quantity fresh pasta
Ravioli filling
3/4 cup fresh ricotta
1 bunch spinach (about 200g)
1/3 cup parmesan (preferably grana padana), finely grated
pinch of finely grated nutmeg
finely grated zest of 1/2 a lemon
4 egg yolks
Burnt Butter Sauce
100g butter
8 sage leaves

Method

Prepare the fresh pasta dough and rest in the fridge for half an hour.

For the filling, start by wilting the spinach in a dry frypan, if the spinach doesn’t already have a bit of moisture on it put a few drops of water in the pan. Remove from the heat and set aside in a strainer. After it has cooled for a few minutes push out as much liquid as possible and roughly chop.

In a bowl, combine ricotta, parmesan, lemon rind, nutmeg and spinach. Season with salt and pepper. Don’t over-season with salt as some saltiness will come from the butter sauce.

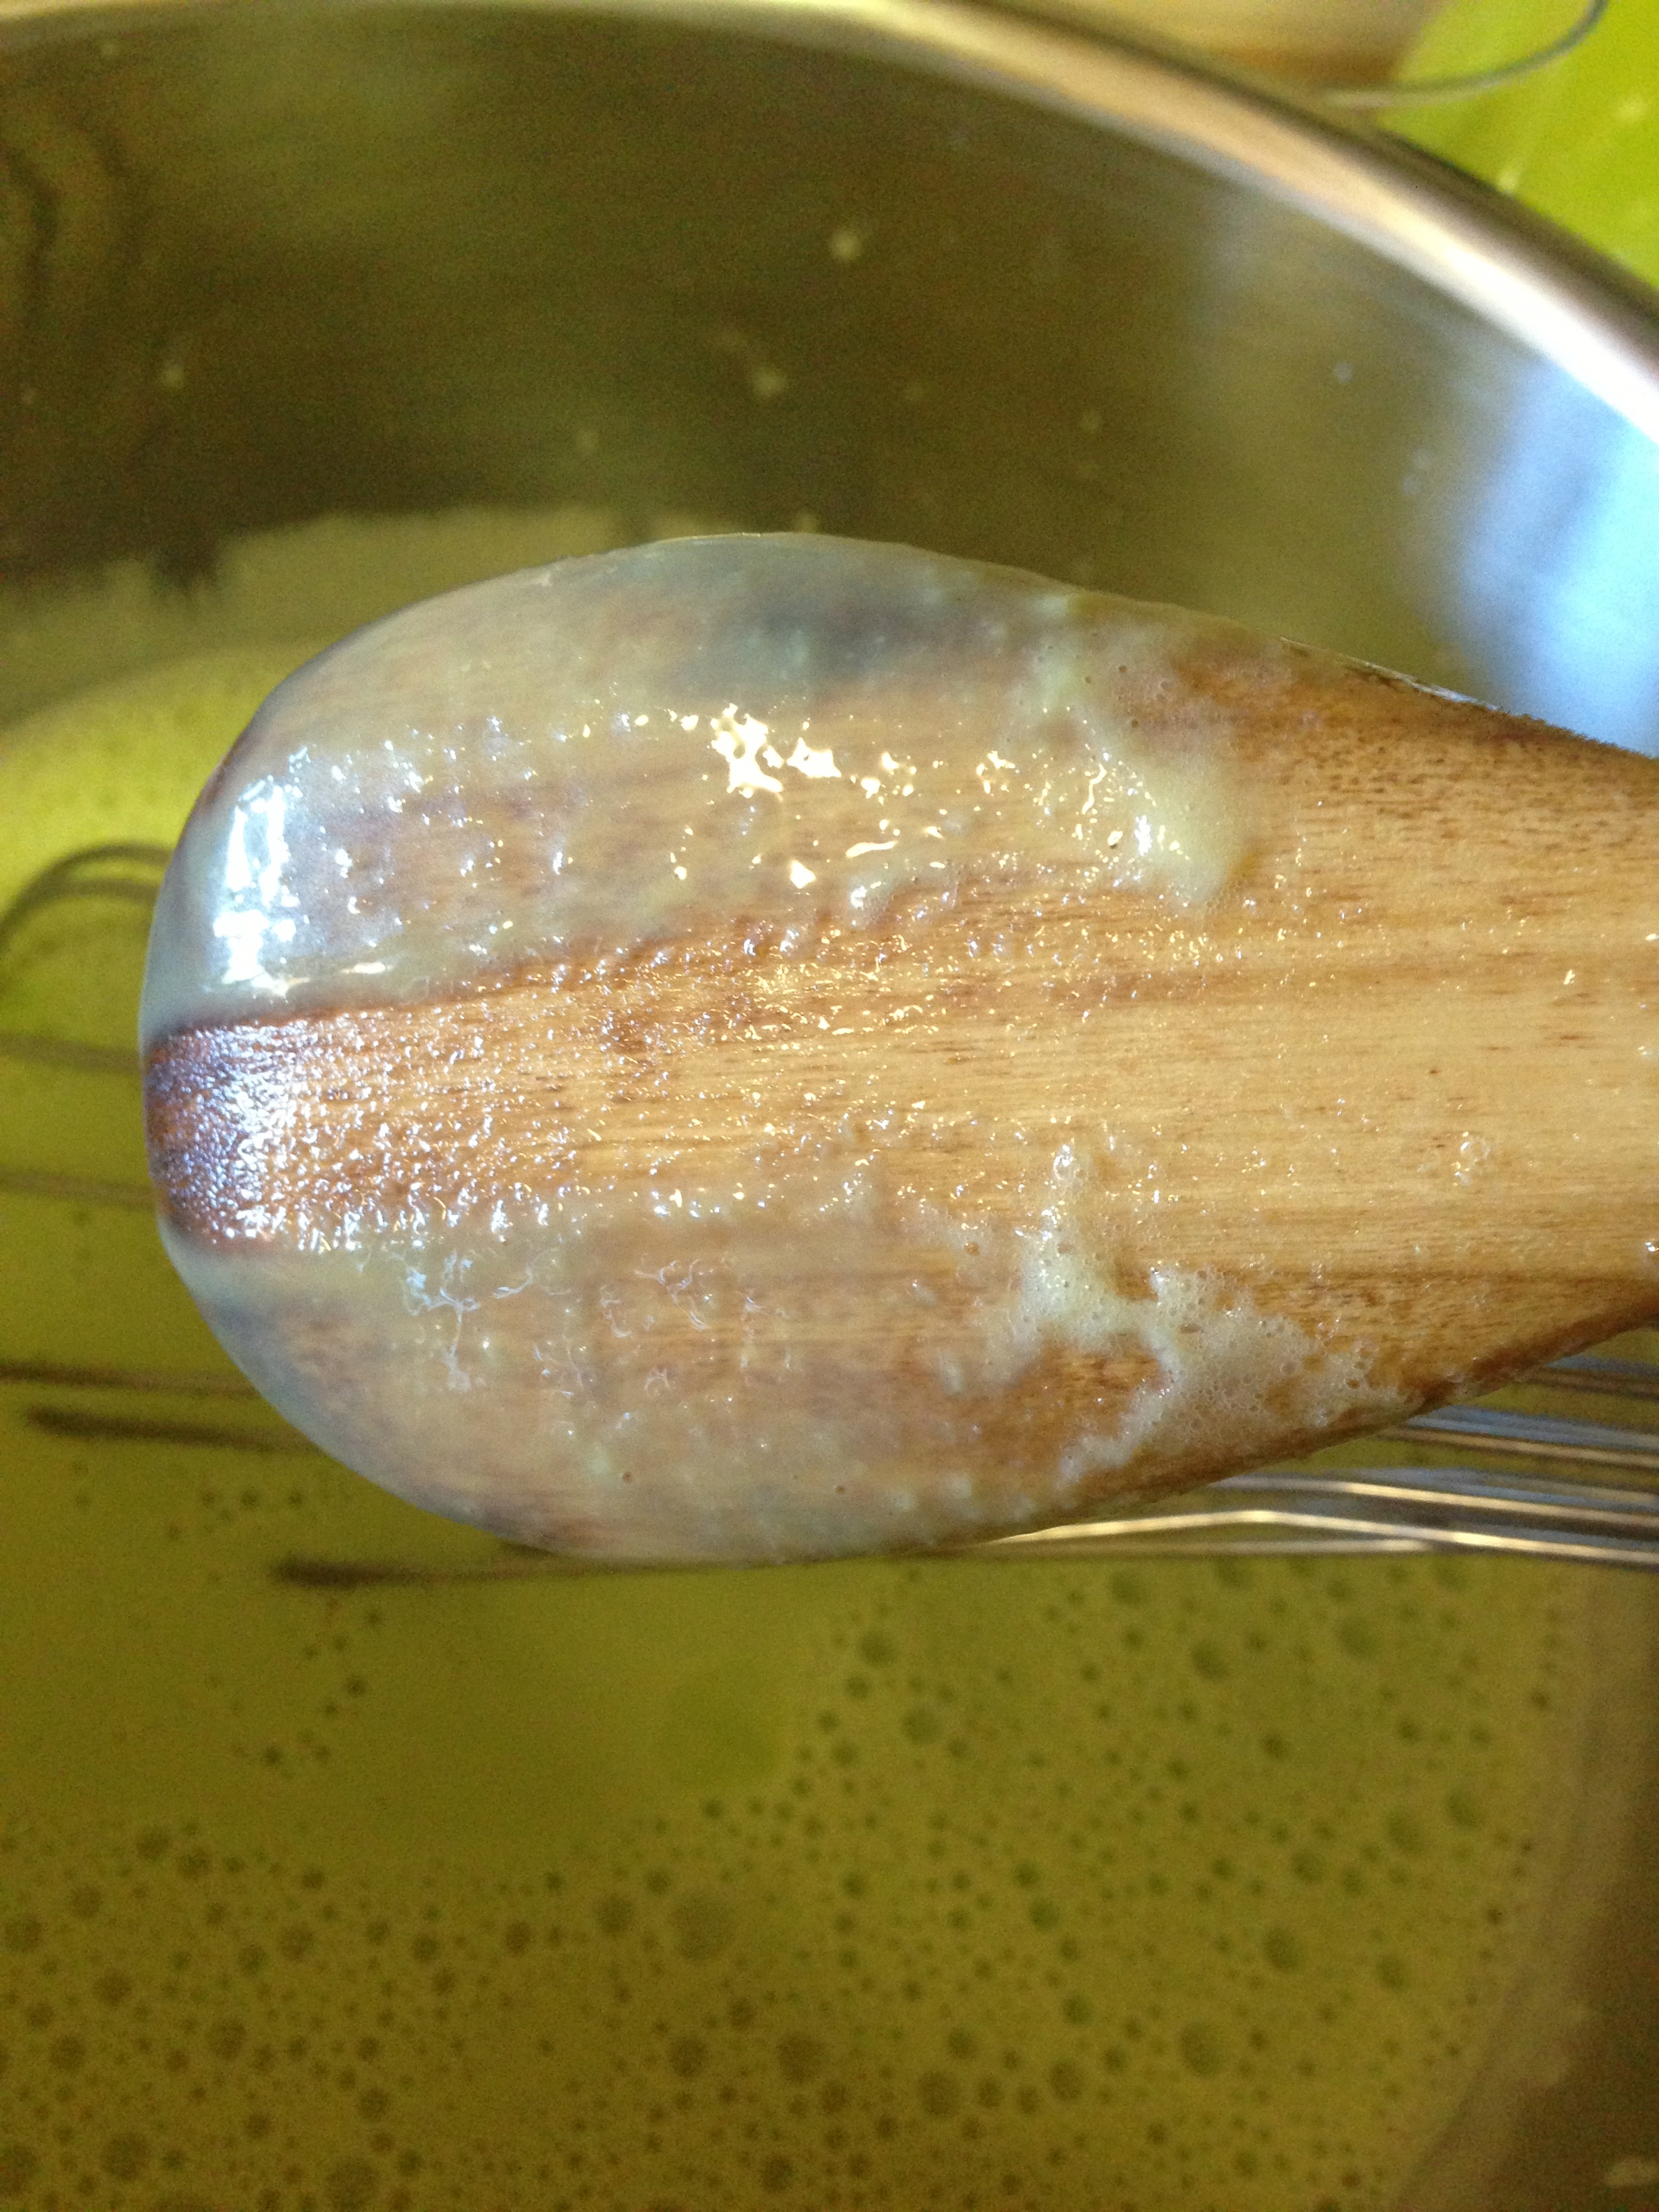
For the butter sauce, over a medium-high heat melt the butter. Once melted add the sage leaves. The butter will start to foam and once brown flecks start to appear remove from the heat. Set aside. The sauce can be quickly reheated while the ravioli are cooking.

Divide the pasta dough in two and working with one at a time roll out to 6 on the dial, they will be quite thin. You will need 2 long sheets of pasta, at least 15 cm wide. Flour the bench well, there’s nothing worse than assembling the ravioli and then not being able to get them off the bench! At this point it would be good to get the water boiling so that once the ravioli are ready you can cook them immediately.  Be sure to salt and oil the water.

Starting at one end, about 5 cm from the end, dollop about 1½ tbsp of ricotta mixture in the middle of the pasta sheet. Make it into a nice round blob and create a small well in the centre for the yolk to sit in. Repeat 3 more times along the length of the pasta sheet, with at least 5 cm in between each.

One at a time, separate the eggs. As you separate, drop the egg white into a glass and once free of the white gently roll the yolk into the well that you have created in the ricotta mixture. If the yolk breaks in any way, discard and try again. Once all egg yolks are in place cover with the second pasta sheet. Working your way along the pasta sheet from left to right, gently press the pasta onto the filling to eradicate any air bubbles. At the edge of the filling seal the two pasta strips together. Tip: don’t press too hard as you don’t want to stick the pasta to the bench top! Once all are sealed, divide them into individual ravioli using a pizza cutter or knife.

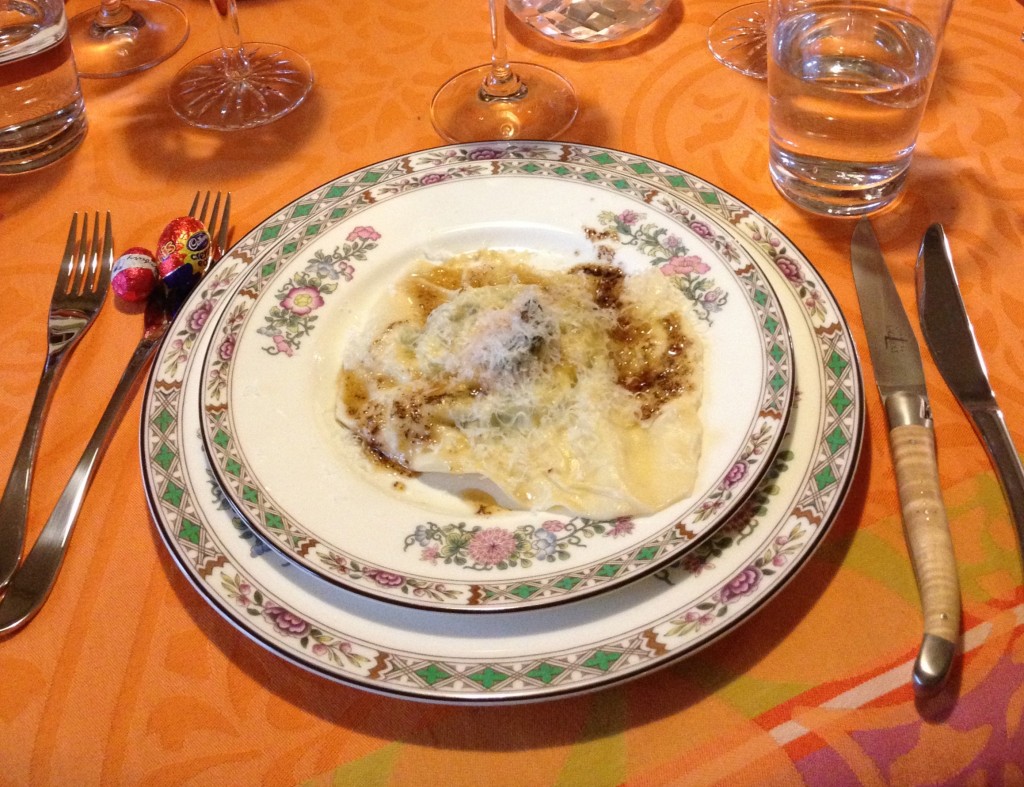
Cook the ravioli 2 at a time in the boiling water for 4 minutes. It is best that the water is on a slow boil so it doesn’t destroy the ravioli as they enter the water. If possible, have 2 pots of water on the go so that all ravioli are ready at the same time. Once cooked, the yolk should still be bouncy to touch, remove with a slotted spoon. Once all ravioli are on their plates, pour over the burnt butter sauce, it should just be a drizzle, ensuring all plates have a couple of sage leaves. Top with a little more grated parmesan as desired.

IMG_2543

When your guests ask for seconds it would be wise to show them how long the recipe is and tell them they were lucky to even get one! It might seem like hard work but it’s worth while.

If you enjoyed this post please “like” it on facebook, or even share it. Thanks! x
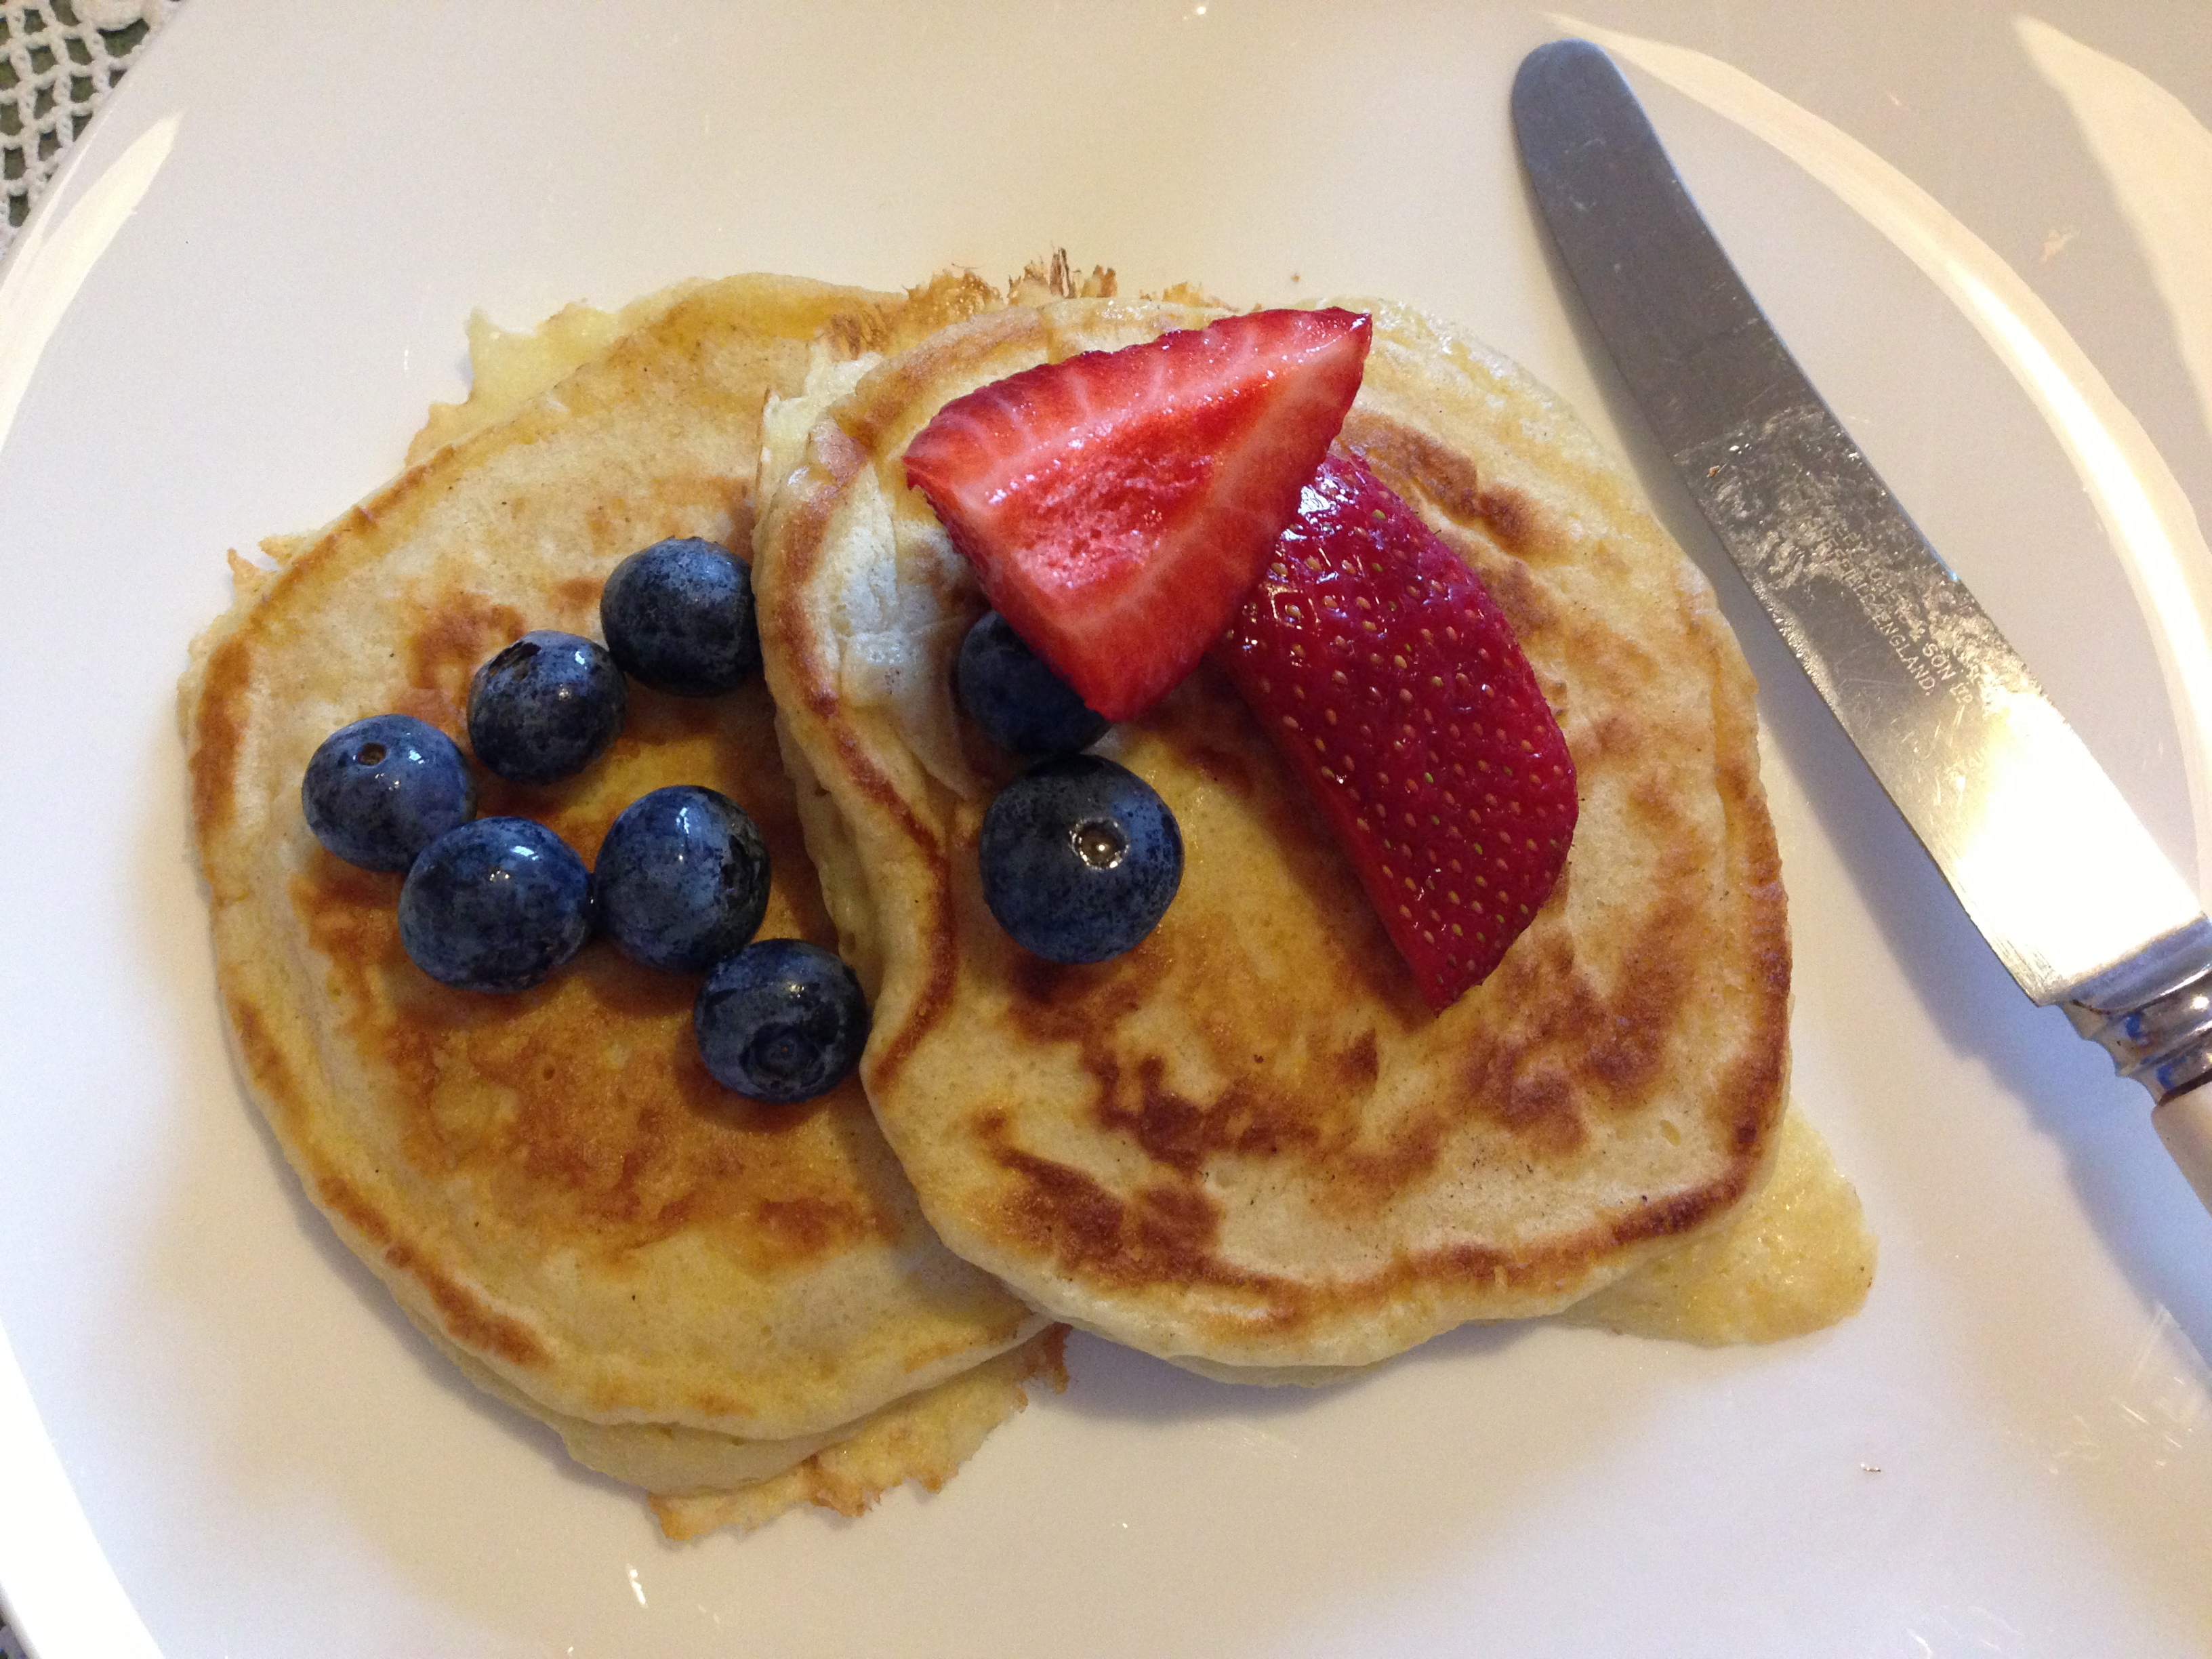
Melt & Mix Chocolate Cake

IMG_3183This chocolate cake is amazing. I’ve tweaked this recipe from it’s original form by adding 50g of dark chocolate to the melting mixture. I also prefer to use a good quality dutch cocoa powder, usually found in the supermarket but in a different section to the standard cocoas (it higher cocoa solids content than regular cocoas in the supermarket). The cake takes on a richer, deeper chocolate flavour. If you’ve got any old bananas lying around, mash a couple up and stir through the mix to make an excellent choc-banana cake. A couple of years ago I experimented with making candied orange with oranges from Dad’s tree. Once I made them I didn’t know what to do with them! Chocolate and orange go together though…finely dice the candied orange to add to the mix and you’ll have a choc-orange cake…delicious! This can also be easily achieved by adding finely grated rind from 1 orange to the cake mixture and also infusing the chocolate ganache with orange rind.

I prefer to ice with a chocolate ganache but a basic chocolate icing also tastes very good.

Perfect if you want to whip up a chocolate cake quickly or use it to layer up, just as I did in my black forest cake.

Ingredients
125g butter
1 cup buttermilk
300g caster sugar
25g cocoa powder
50g dark chocolate, chopped
220g self-raising flour, sifted
1/2 tsp bicarb-soda
2 eggs
Ganache icing
75ml cream (35% fat)
150g dark chocolate, chopped

Method

Preheat oven to 180°C and grease your cake tin (20cm square, round, fluted or ring tin all work well).

In a heavy-based saucepan, over a low heat, melt butter, milk, cocoa and sugar. Stir until smooth. Remove from the heat. Add dark chocolate pieces, the residual heat will melt the chocolate.

Off the heat, mix through flour, bicarbonate of soda and eggs.  Stir until smooth. #If adding bananas or candied orange, stir through now.

Pour into prepared tin. Bake for 30 minutes or until a skewer inserted comes out clean.

For the ganache, bring the cream to the boil in a small saucepan. Remove from the heat and add the chocolate. Wait until the chocolate is mostly melted until stirring to combine.

Once the cake has cooled, smother it in ganache.

This cake keeps well for several of days in an airtight container.

If you enjoyed this post please “like” it on Facebook, or even share it. Thanks! x