 I was charged with making a birthday cake for a work colleague, Bianca. I wanted to make something a fun. I put on my thinking hat and thought about what she likes. She likes footy, Geelong in particular, she and I share a passion for Gorman clothes – both, I thought, were too tricky to make into a cake. I call Bianca my little princess, mainly due to her dislike of camping, so I began my search for princess cakes.
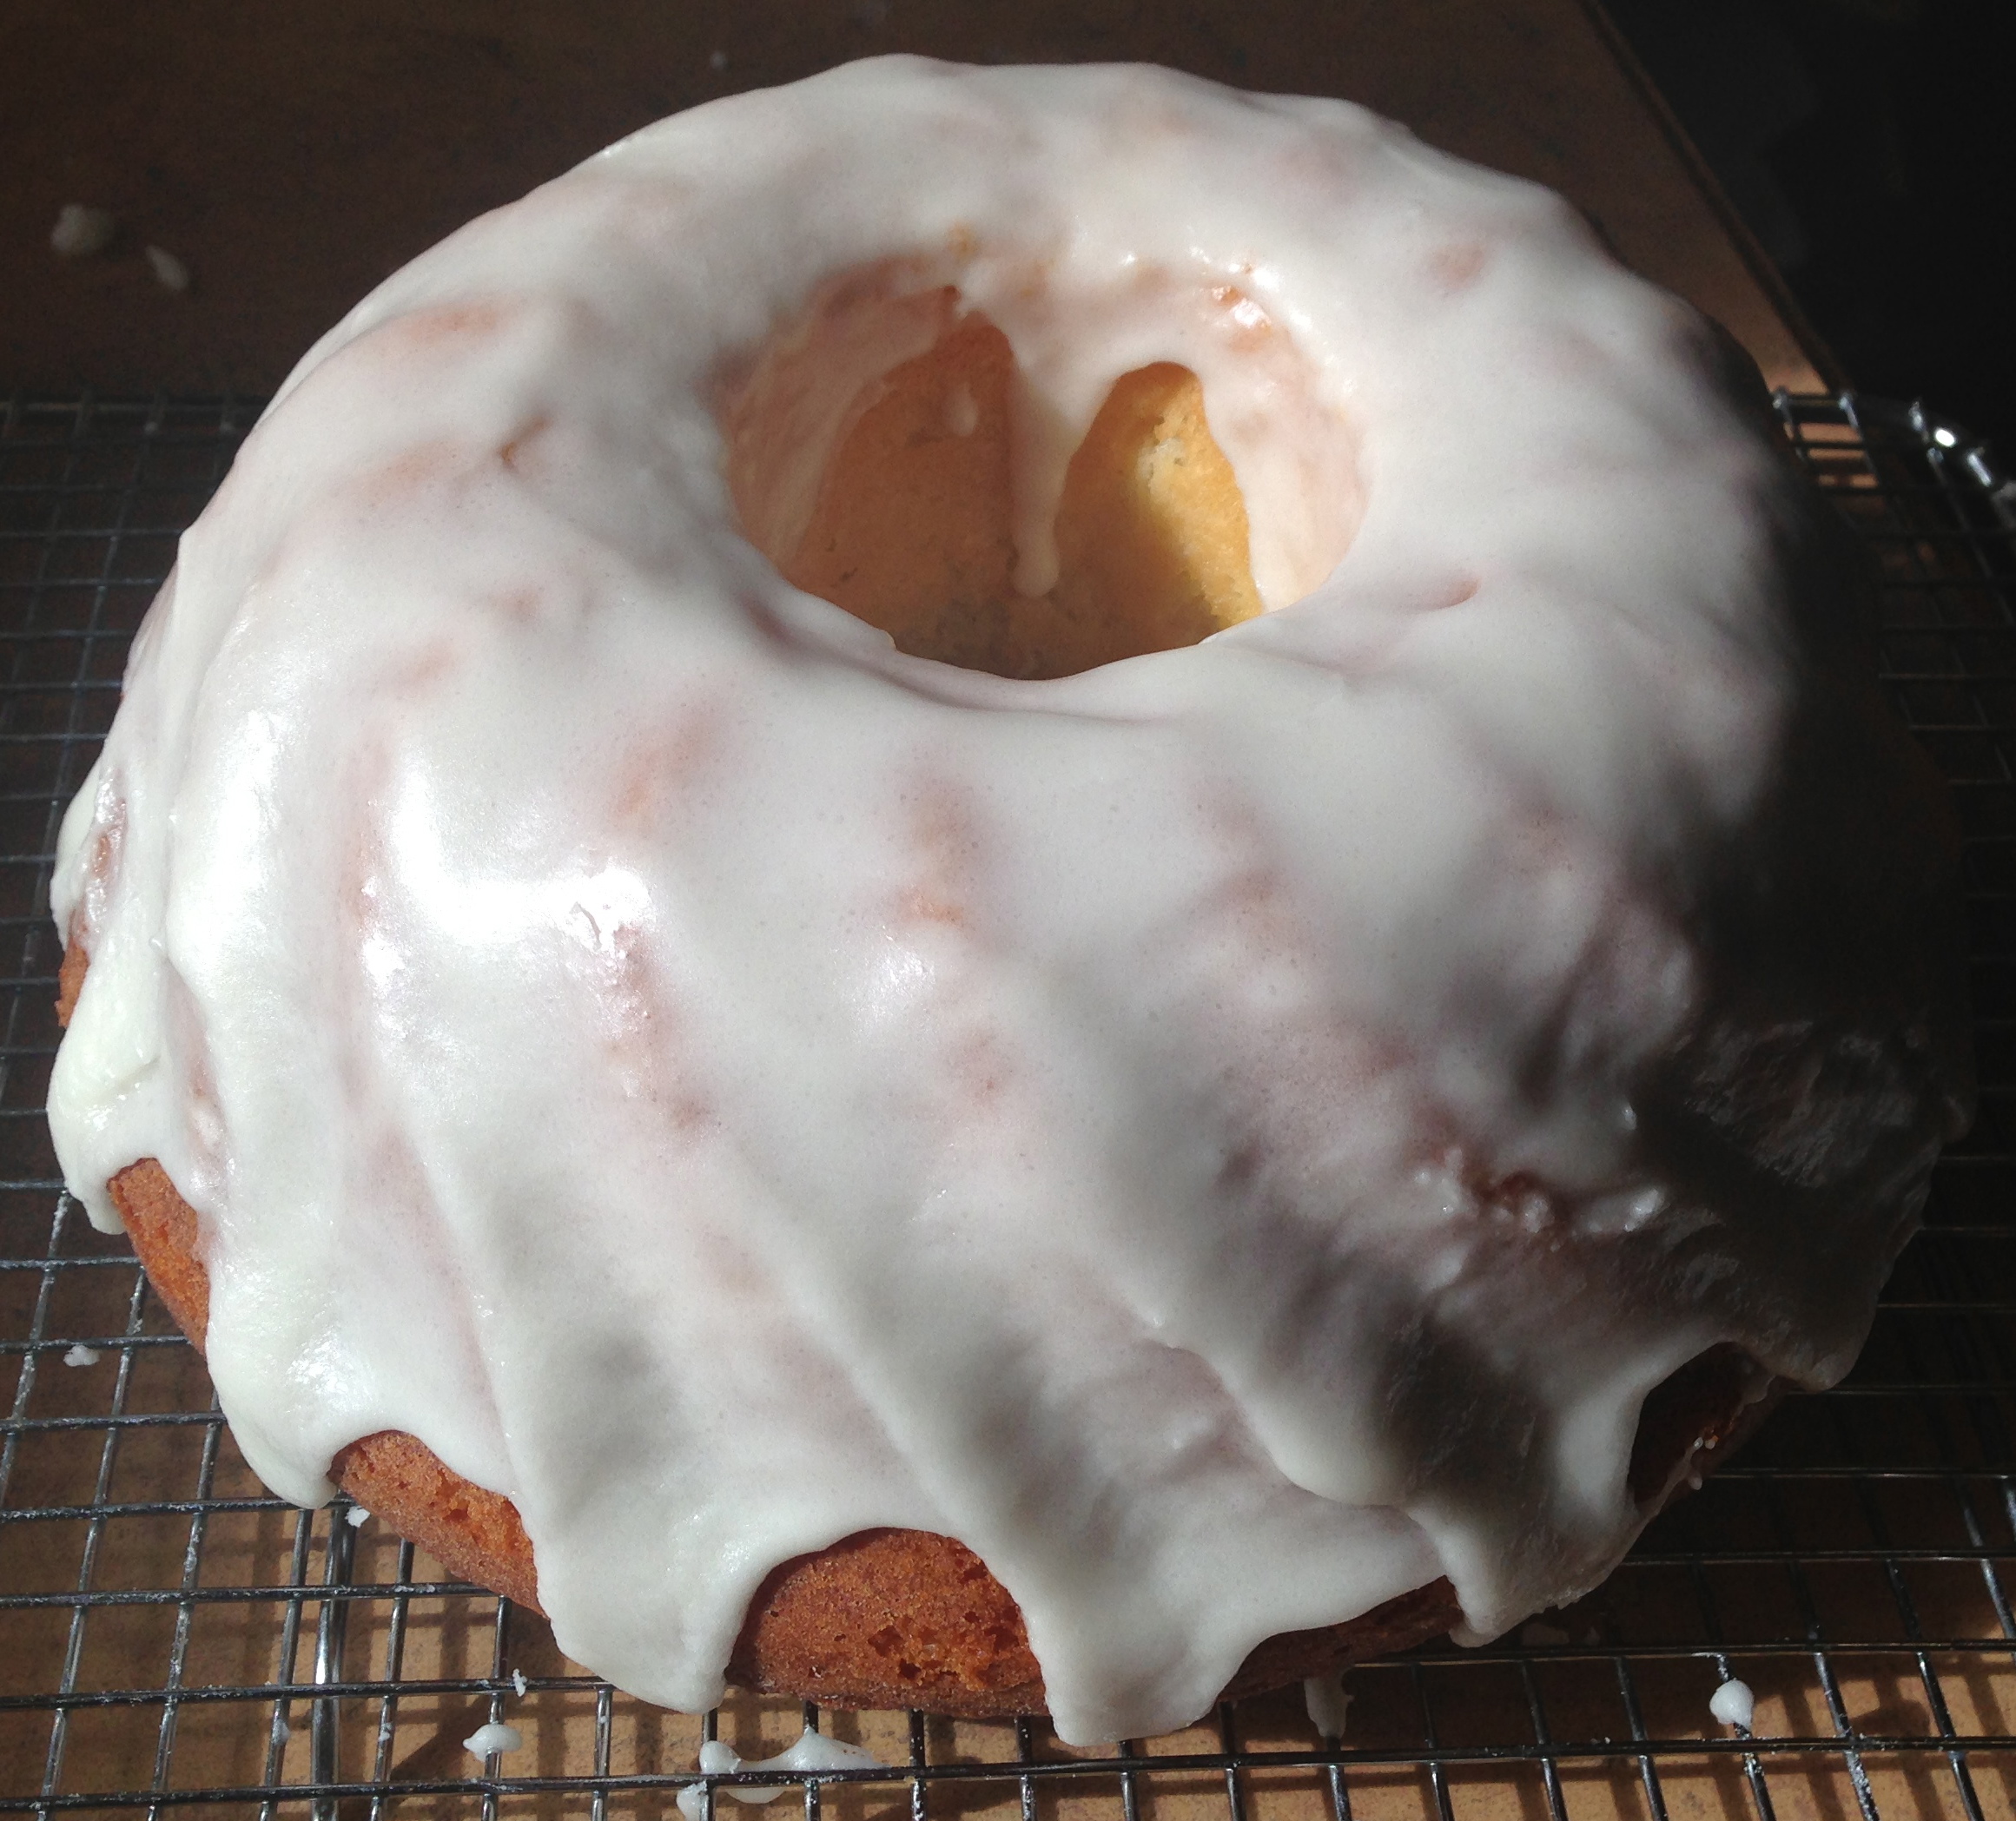
Here is my attempt at a princess cake. I think I did well – she was so pretty! You can turn practically any cake into a princess cake, as long as you use a fluted ring tin. I wanted to do something other than chocolate, and found this lemon and yoghurt cake (using lemons from our tree). Pretty icing will turn your cake into a BIG beautiful flowing skirt. I found the doll in the supermarket by chance for $2, I was looking for a brunette, like Bianca, but had to settle for this little blondie. She was a little tall for her cake “dress” so she had to lose a little off her legs. Princess legs are not as easy to shorten as you’d think! The pretty decorating pearls can be found in supermarkets or specialty cake shops.
Once the cake is baked, cooled, iced and decorated, gently lower your princess into the centre – adjust the height of your princess as required.
I hope you enjoy your princess cake as much as we did!
Ingredients
1 1/2 cups caster sugar
2 eggs
1/2 tsp salt
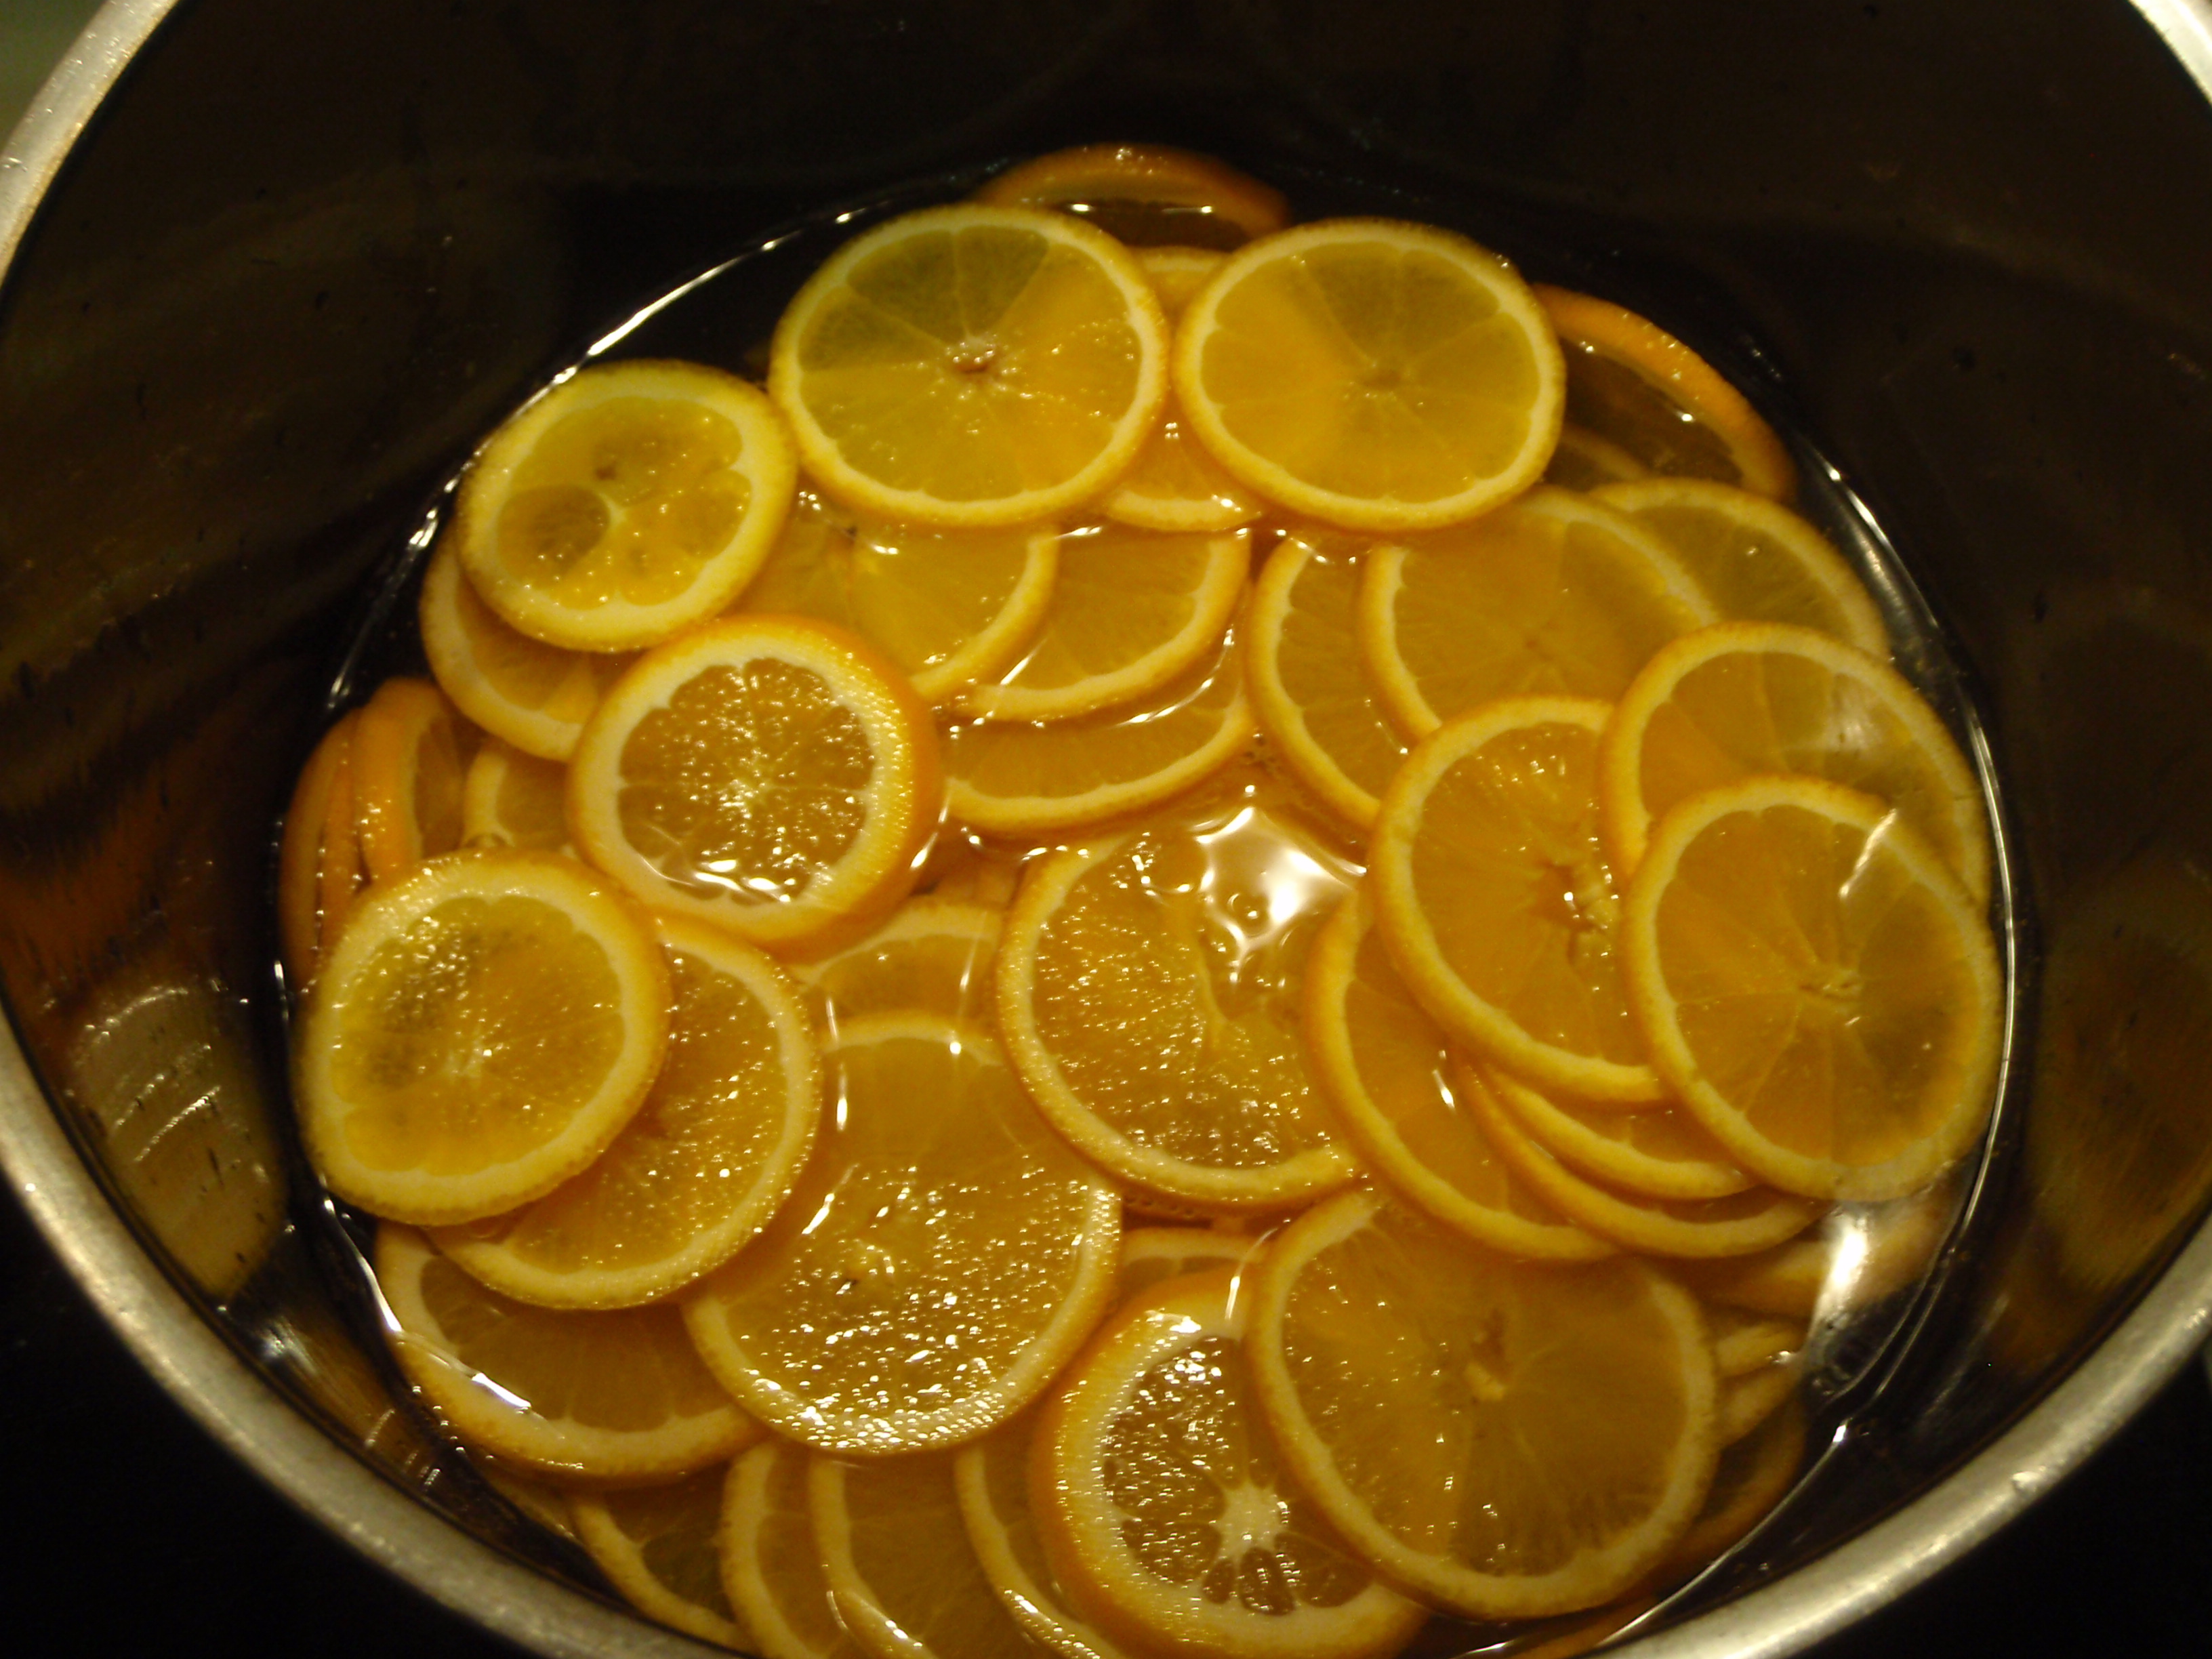
3 tbsp lemon juice
Grated rind of 2 lemons
1/2 cup olive oil
1 cup natural yoghurt
2 cups self-raising flour
Icing
1 cup icing sugar
1 or more tbsp of lemon juice
1 tbsp butter, softened
1 drop pink food colour
Method
Preheat oven to 180°C.
It’s very important with a fluted tin to grease it exceptionally well. I have had several cakes end up in several pieces after sticking to the tin. It’s not so easy to get a knife in and around a fluted tin! My tip is to butter the tin well, very well, and dust it with flour, make sure to tip out any excess flour.
In a bowl whisk together sugar, eggs, salt, juice, rind & oil. Stir through yoghurt until combined and then fold through the flour…as easy as that!
Bake for 30 minutes, or until a skewer inserted comes out clean. Cool the cake for 10 minutes before turning out of the tin.
When the cake is almost cool, make the icing. Combine the icing sugar, lemon juice, butter and food colour. The mixture should be quite thick so it doesn’t run straight off as it’s poured over the cake. Decorate with pearls before the icing has set.
If you’re after a little more adult version of this cake, omit the pink food colour and pearls.
If you’ve enjoyed this post, please “like” it on Facebook, or even share it. Thanks! x