Black Pepper & Yoghurt Curry

Black Pepper Curry

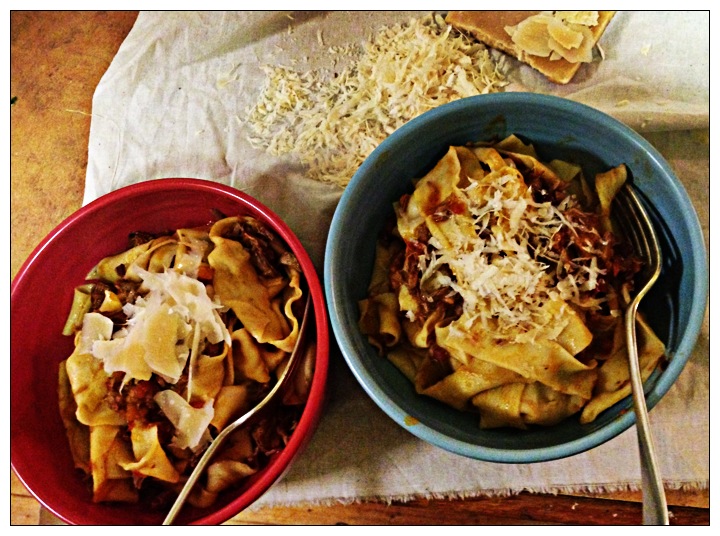
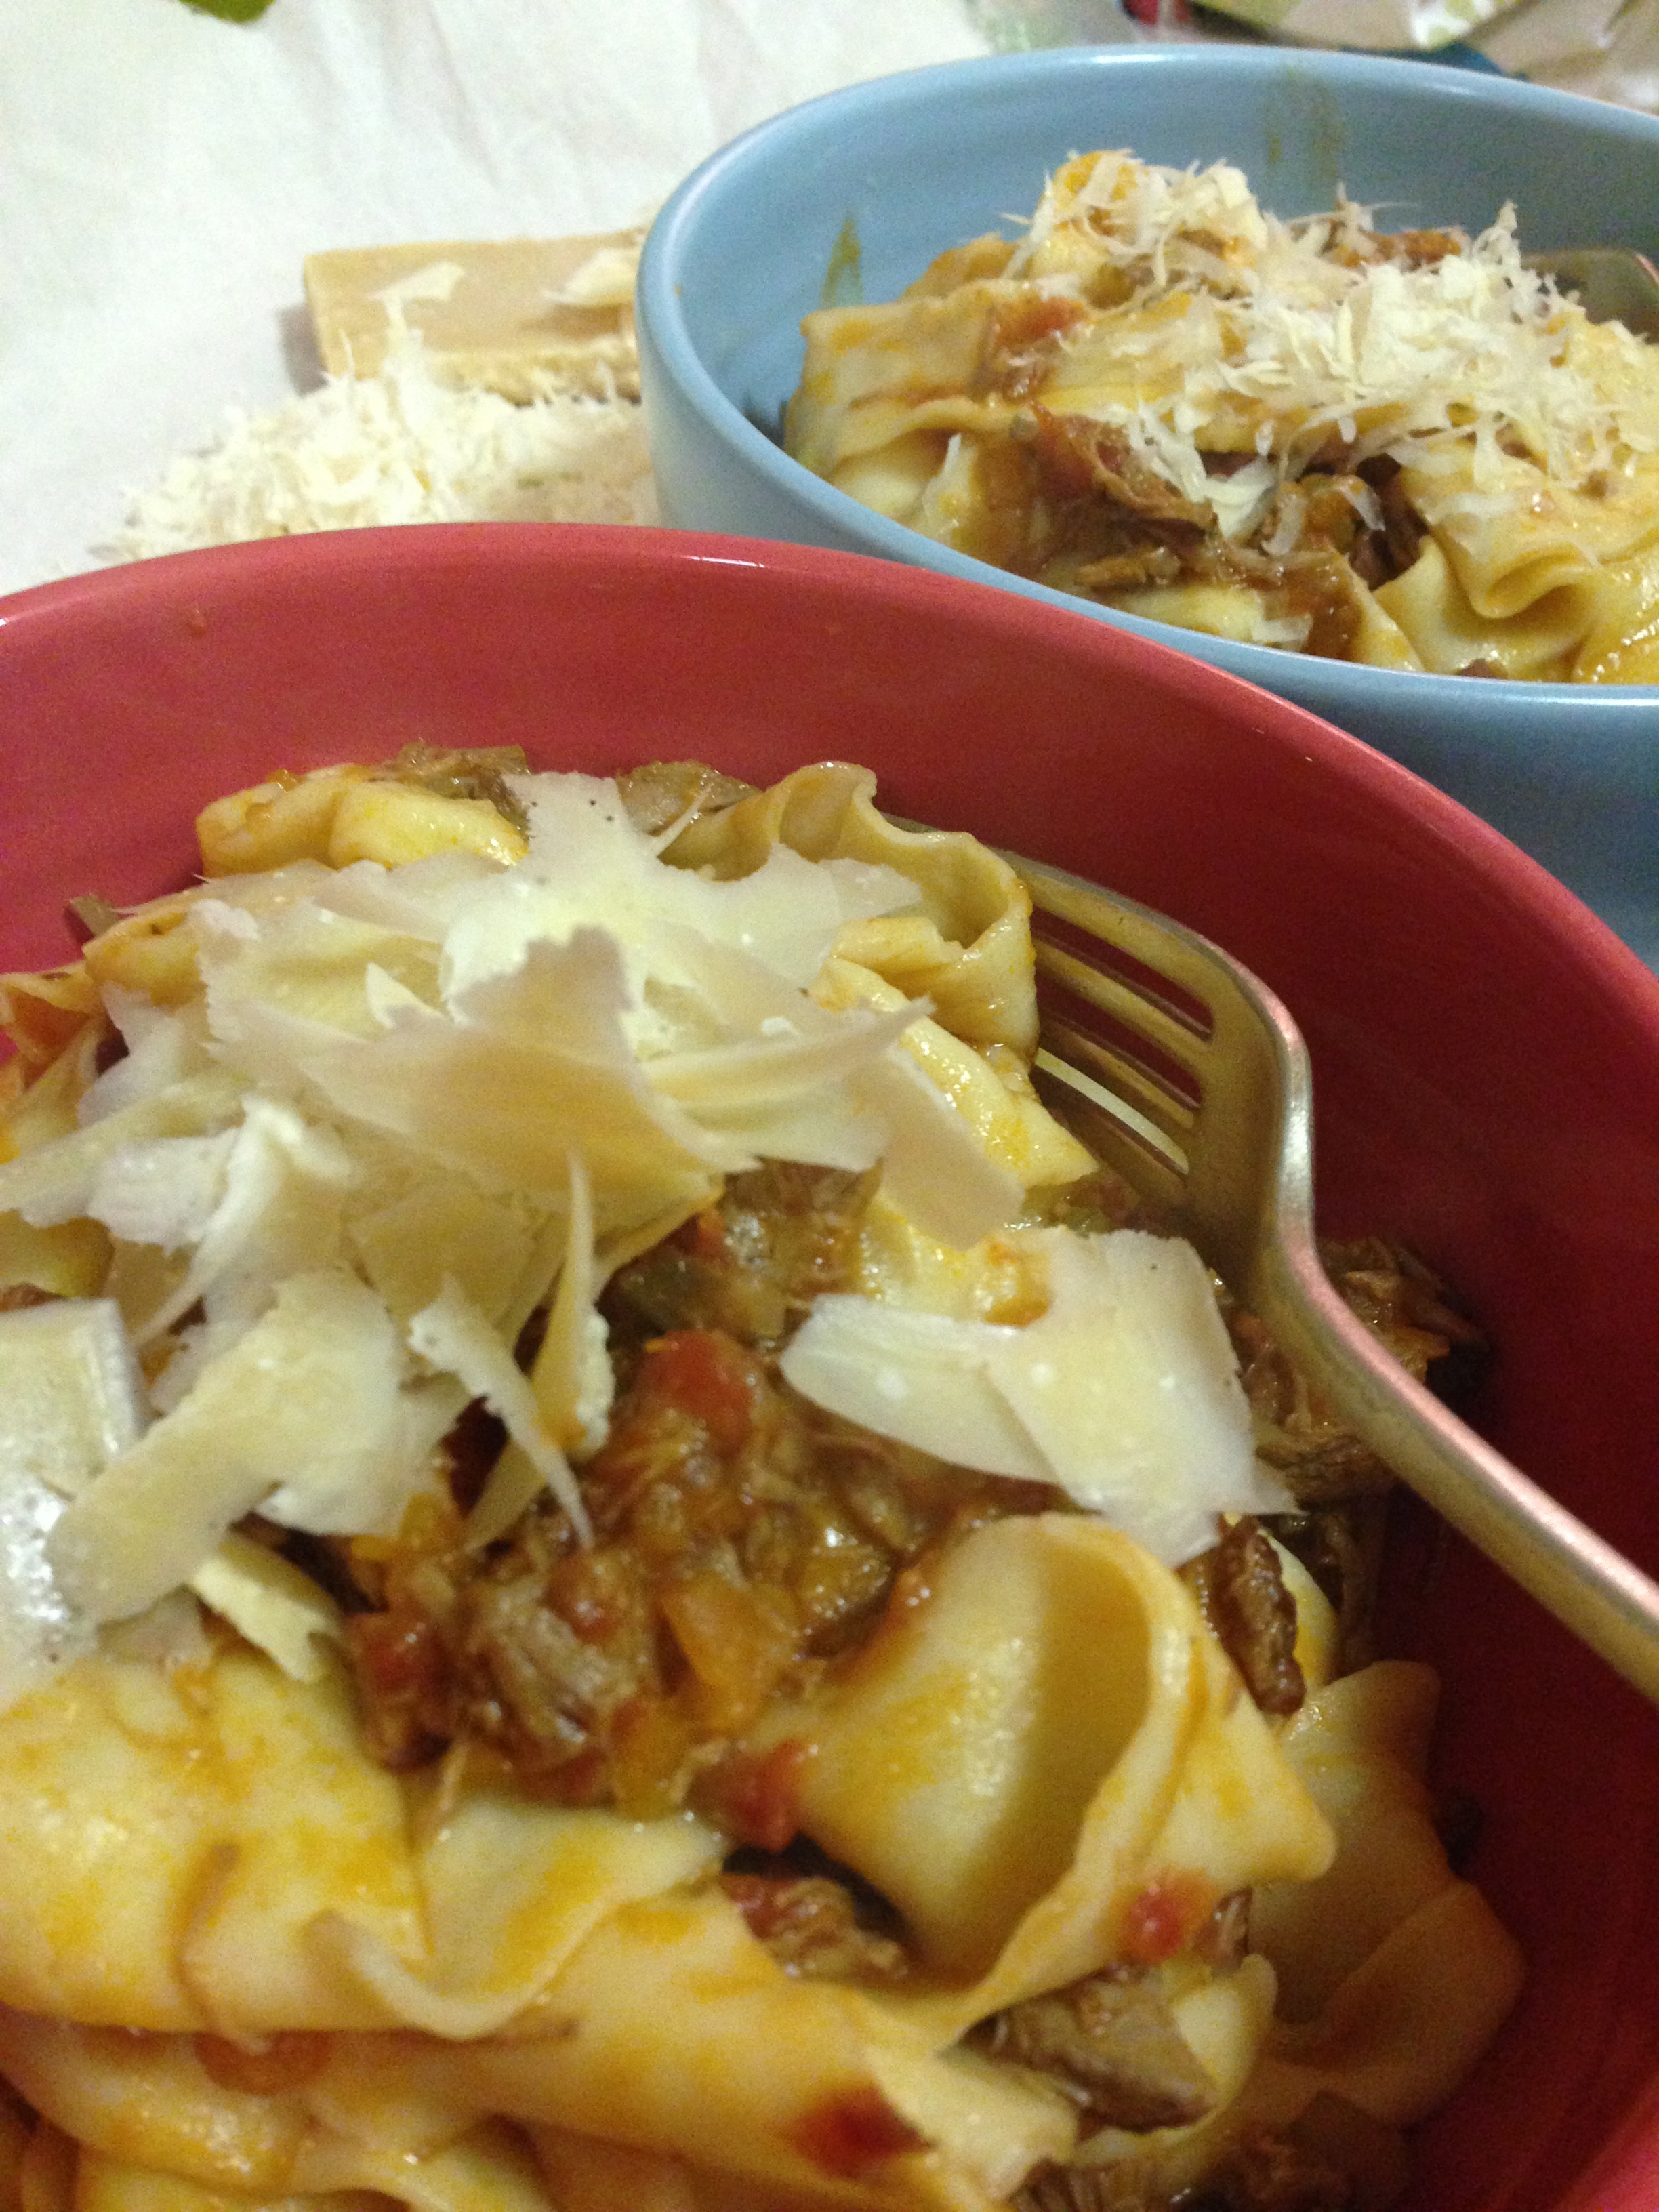
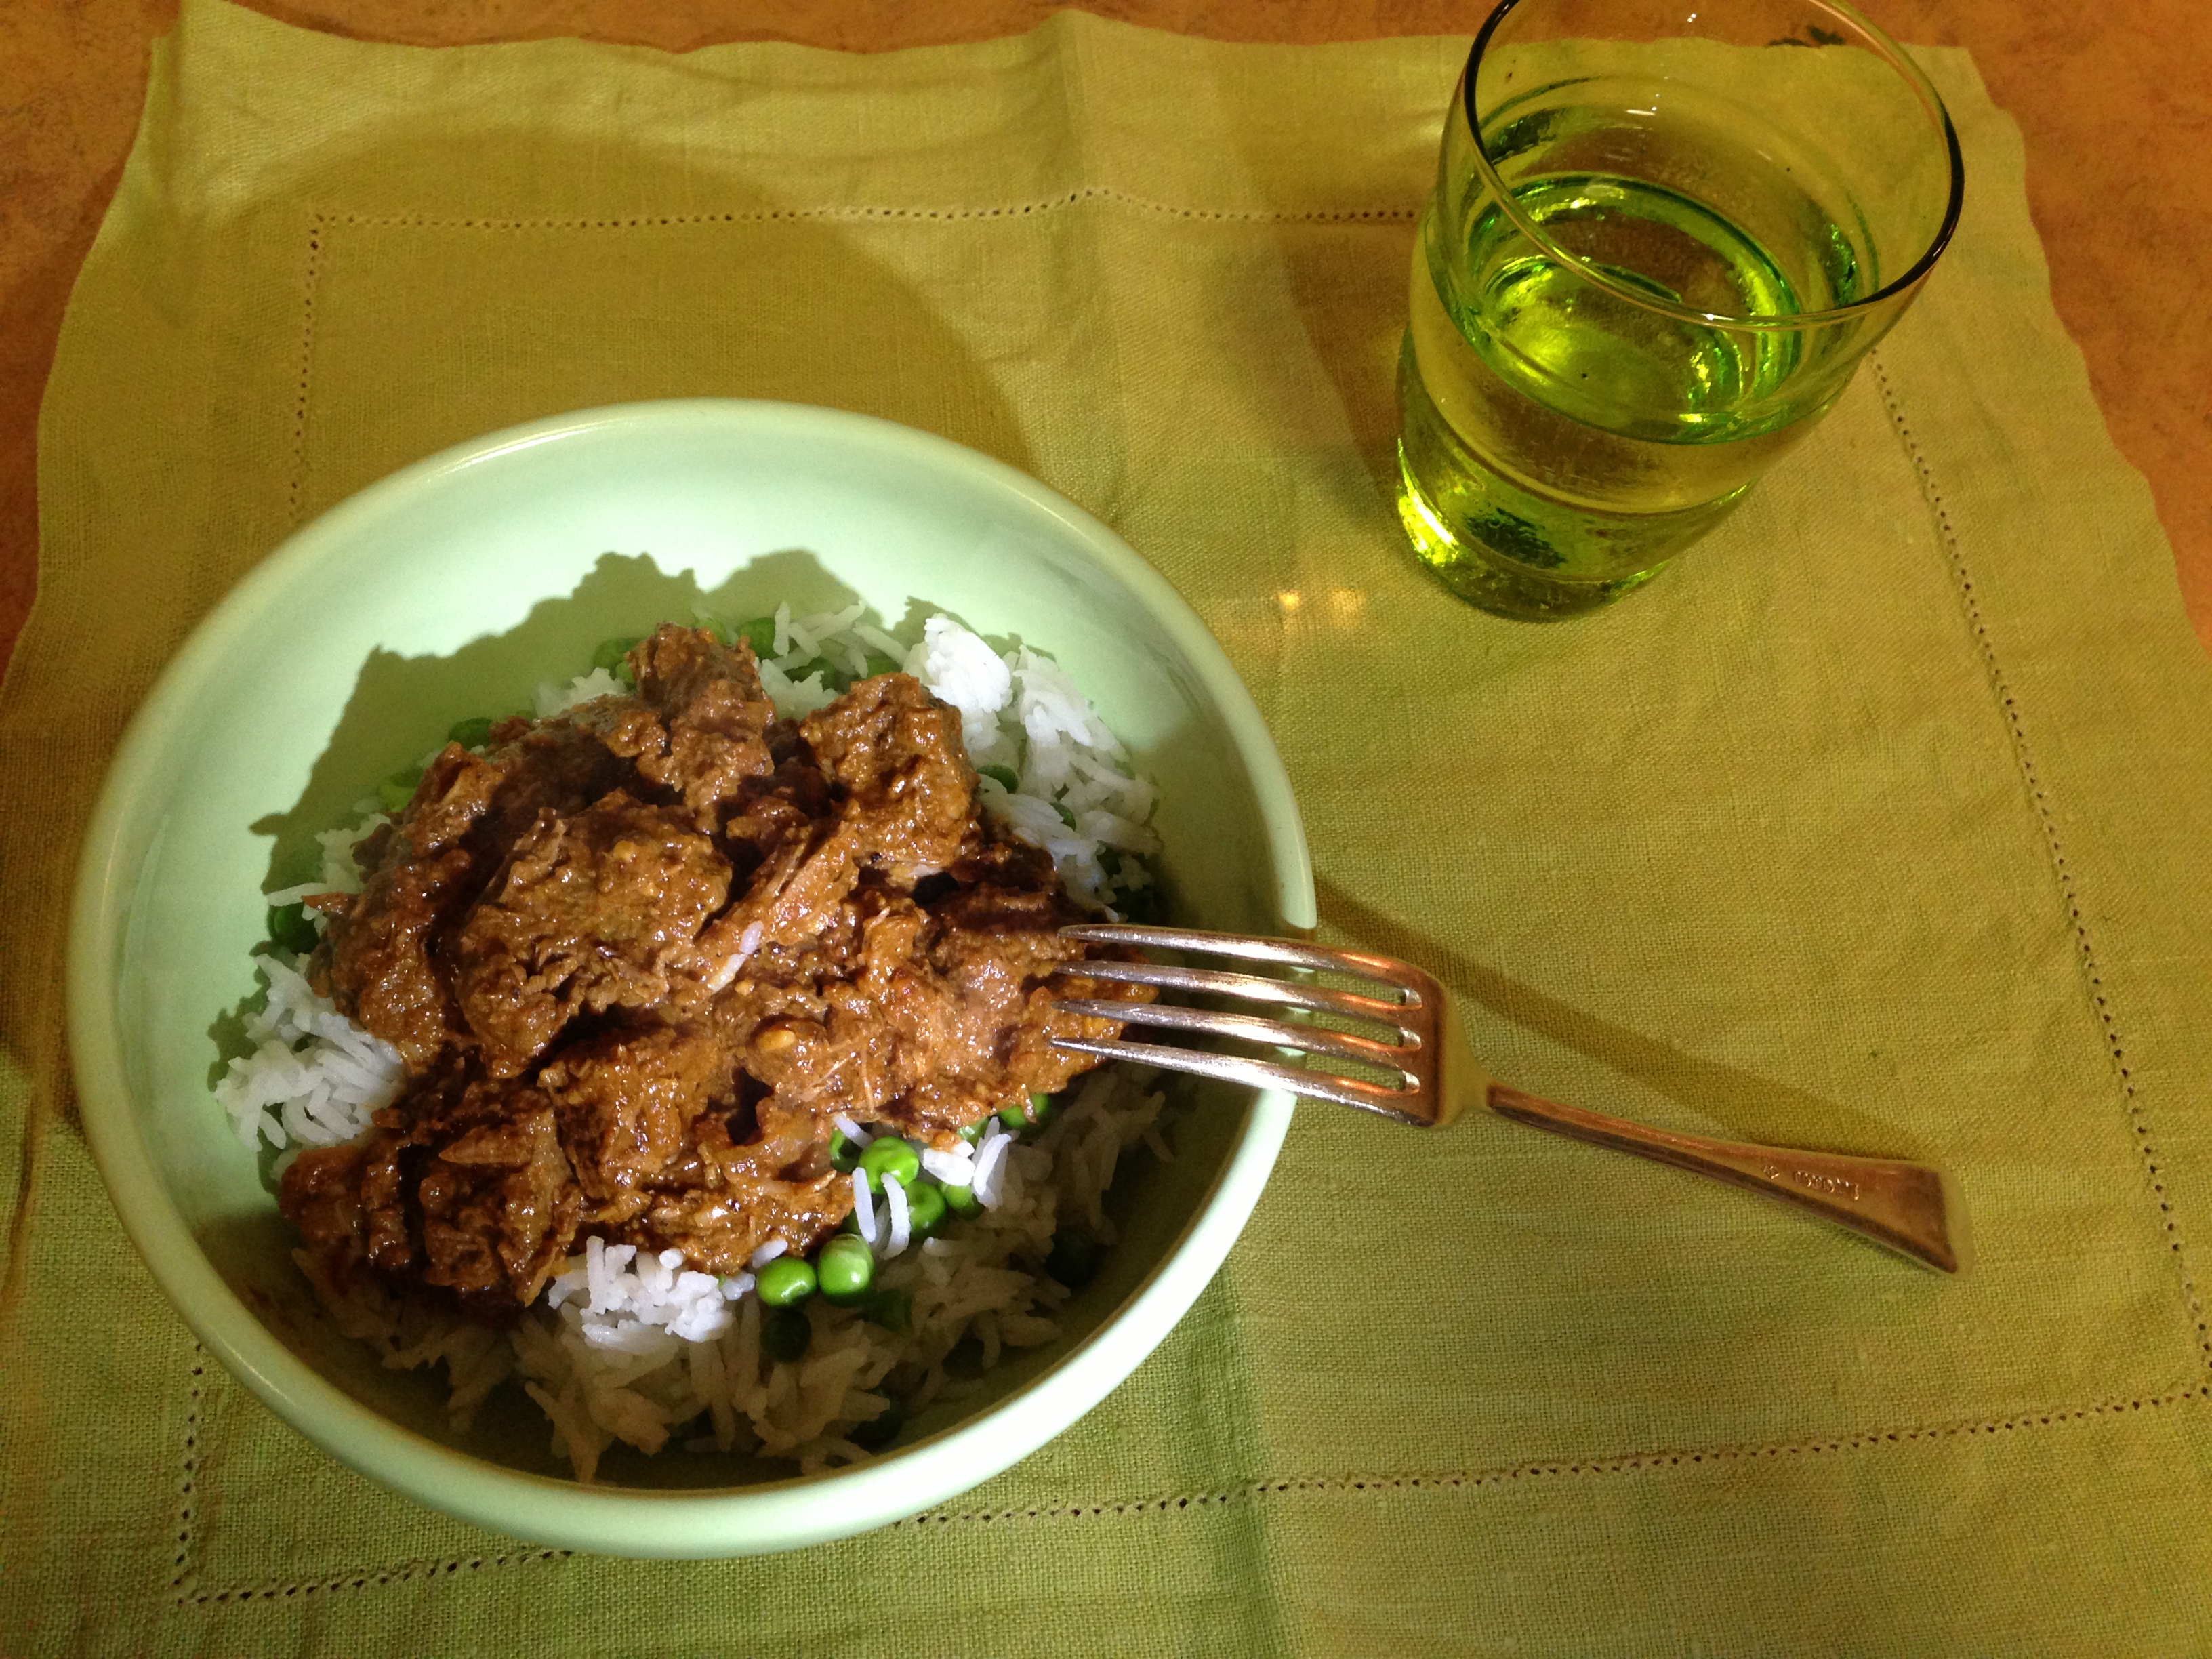
It may not look pretty, but it’s tasty!

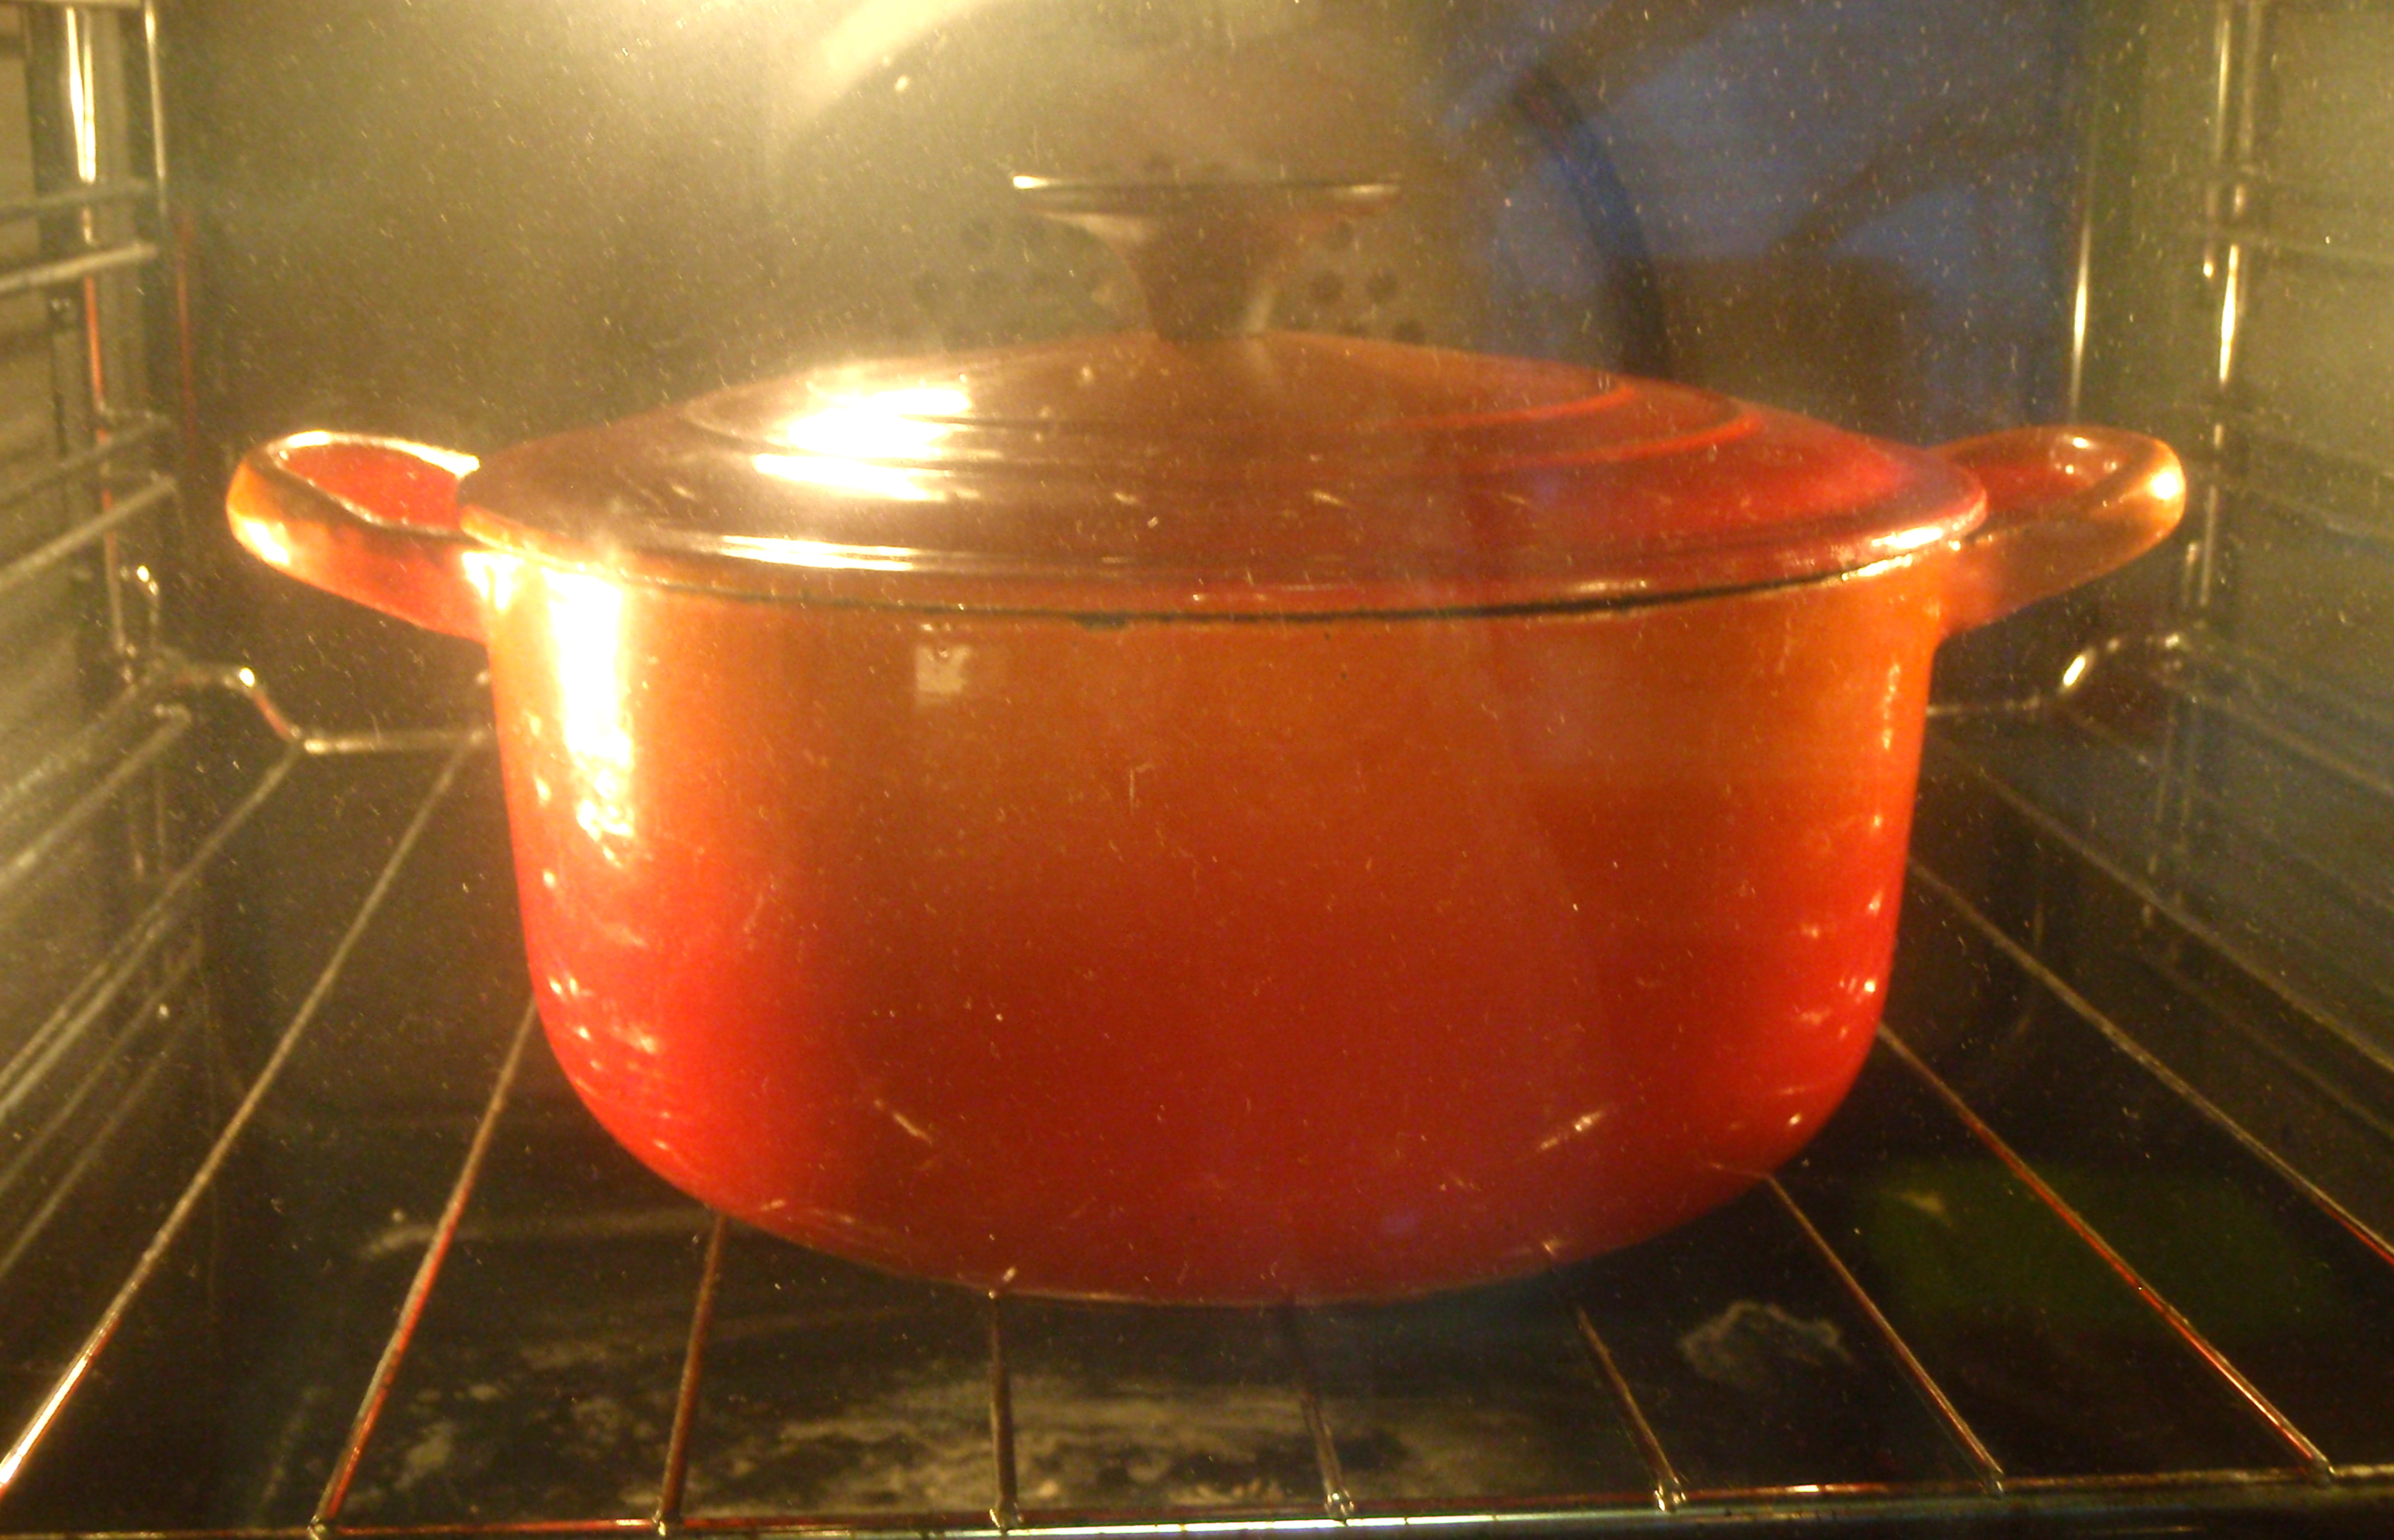
Another slow-cook wonder, this curry is best made the day ahead. It doesn’t take long to prepare and then it can be shoved in the oven for a couple of hours. Just don’t do what I regularly forget to do…putting it in the fridge after letting it cool out of the oven. Thankfully, I have lived to tell the tale after remembering in the morning. If it was chicken I wouldn’t be too confident about eating it the next day, at least it’s always beef or lamb.

These quantities fed us well for dinner as well as lunch for one of us the next day. Doubling the quantities will certainly feed 6 hungry adults.

Ingredients
1 tbsp olive oil
500g beef or lamb, 2cm dice
1 large brown onion, finely diced
3 cloves garlic, finely chopped
1/2 tsp grated ginger
1/4 tsp cayenne pepper, less if you don’t want the heat
1 tbsp paprika
1 tsp salt
1 tsp freshly cracked black pepper
200ml natural yoghurt

Method
Preheat oven to 170°C.

Heat oil in an oven-proof pan over a medium-high heat. Brown the meat, this may need to be done in batches depending on the size of your dish. Set aside and reduce the heat. Add to pan onion and garlic, sauté for 5 minutes, or until soft. Return the meat, and any juices accumulated, as well as the ginger, cayenne, paprika, salt and pepper. Stir to coat. Once the aromatics have released from the spices add the yoghurt and bring to a simmer. Cover the pan and place in the oven for 1-1½ hours, or until tender. Check fluid levels every half hour. If the curry seems to be drying out add half a cup of water.

Serve with steamed rice and naan. We steam the rice with some frozen peas to add some greens (and colour) to the meal.

You might also enjoy Massaman shanks…yum!

If you’ve enjoyed this post please “like” it on facebook, or even share it. Thanks! x

Massaman Shanks

OLYMPUS DIGITAL CAMERANothing says winter more than a le creuset in the oven. This little one-pot-wonder will certainly warm you up! The recipe is super simple. The only trick, as with all great winter dishes, is that it needs to be started in the afternoon as it takes a couple of hours to cook. However, the prep time is very little. I have used a Massaman base for this but you could substitute for another curry base.

Serves 2

Ingredients
2 tsp olive oil
1/2 jar Massaman curry paste
2 lamb shanks, 3 if you’ve got a hungry boy to feed
1 x 250ml can of coconut milk
250ml chicken stock
1 large desiree potato, 1.5cm dice
1 red capsicum, sliced
handful green beans, cut into thirds
1/4 cup dry-roated peanuts, chopped
steamed rice to serve

Method
Preheat the oven to 180°C. In an oven-proof pan heat oil and massaman curry paste. Once the aromatics of the paste have released add the lamb shanks. Once browned add the coconut milk and stock.

Cover the pot and place in the oven. The shanks will need to cook for about 2 hours until tender. After an hour add the potato and stir through the sauce. If the shanks are sitting out of the fluid, turn them over and return to the oven.  With about 20 minutes to go (when the shanks are pretty soft and almost falling off the bone) add the capsicum and beans to the pot. Stir them through and return it to the oven. At this point, get the rice on.

Once the rice is ready the veggies should all be cooked – the potatoes will be incredibly creamy (they are in fact so amazing you’ll struggle to stop eating them). Sprinkle with peanuts and serve with steamed rice and naan – perfect for mopping up the sauce.

For a lighter option, why not try caramel chicken?

If you’ve enjoyed this post please “like” it on facebook, or even share it. Thanks! x

Caramel Chicken

Caramel ChickenThis recipe is super tasty and super quick and easy to whip up. Great for a mid-week dinner when you REALLY don’t feel like cooking but know you should resist the temptation to take another cheeky option. If you’re feeling super healthy you could serve with brown rice, a little less health basmati rice and if you want to go all out serve with jasmin rice. This recipe has been adapted from Bill Granger’s Bill’s Open Kitchen

Serves 4.

Ingredients
1 tbsp olive oil
1 brown onion, thinly sliced
2 garlic cloves, thinly sliced
8 chicken thighs, halved
freshly cracked black pepper
60ml dark soy sauce
30ml fish sauce
1.5 tbsp brown sugar
steamed rice and steamed greens, such as asparagus, bok choy & broccolini, to serve

Method
Heat olive oil in a large frying pan (make sure you have a compatible lid) over a medium heat. Add onions and sauté for 3 minutes. Add garlic and sauté for another 2 minutes. Add chicken to pan and lightly brown. Season liberally with freshly cracked pepper. Add soy sauce and stir to combine. Cover with the lid, reduce heat to low and cook for10 minutes.

Remove the lid and increase the heat to medium-high, add the fish sauce and brown sugar and stir to combine. Cook uncovered for 3-4 minutes until the sauce has thickened. It should be coating the chicken well at this stage.

Serve with rice and greens.

Looking for another easy mid-week chicken dish? Try my pad thai.

If you’ve enjoyed this post please “like” it on facebook, or even share it. Thanks! x

Beef & Guinness Pies

IMG_2894So, I wanted to make a pie. But, how do I make a pie?! I remembered my cousin’s wife Sandra makes great pies. I’d been on the phone with her earlier that day to ask her tax advice. She’s not only a great pie maker but an even better accountant. I rang her a second time as their whole family was on a long-distance drive to their winter holiday destination. They were at a bakery. Sandra thought I was joking when I wanted to ask a pie question while she was in a bakery. It was an authentic pie question though.

Sandra’s outstanding pies are made from onion, chuck steak, Guinness & beef stock. “Is that it?” I said. Although Sandra’s pies are delicious I wanted a few more ingredients in mine. So I did a bit of a google and mish-mashed a few recipes and came up with the following…it was amazing!

This recipe made 4 generous single-serve pies with a little left over gravy. Of course you could adapt the recipe to make a large family style pie or party pies.

Ingredients
1 tbsp olive oil
2 tsp unsalted butter
1 large onion, finely diced
3 garlic cloves, crushed
1kg stewing steak, such as chuck or rump, 2cm dice
1.5-2 tbsp plain flour
2 tsp sweet paprika
1 x 500ml can Guinness
300ml beef stock
1 tbsp tomato paste
4 sprigs thyme
2 sheets shortcut pastry
2 sheets puff pastry
Egg wash
1 egg
100ml milk

Method
In a heavy based pan melt butter and oil together on a low heat. Add onion and garlic and sauté until translucent. Remove from pan with a slotted spoon.

IMG_2887In a bag, place flour, seasoned with salt and pepper, and paprika. Add beef and coat well with flour. Add to pan on medium-high heat and brown on all sides. Once browned, return onion and garlic to the pan and add 300ml of Guinness, beef stock, tomato paste & thyme. Season with sea salt and freshly cracked pepper. Bring to a slow simmer and cook for a couple of hours with the lid on. Remove the lid and cook for a further 30 minutes. The mixture is ready once the meat falls apart when poked with a fork and the gravy has thickened. The next bit will depend on personal preference. I prefer to break the meat up slightly so there aren’t huge chunks in my pie. But if you like chunks, leave it alone!

Preheat the oven to 200°C

Depending on what size pies you want to make, line your pie dish/es with shortcut pastry. I used four 1 cup capacity pie dishes. For this, cut out four 15cm shortcut pastry rounds and four 12 cm puff pastry rounds. Line the dishes with the shortcut pastry and fill with the pie mixture. Lay over the puff pastry and crimp down the edges using a fork.

Whisk the egg and milk to make an egg wash. Brush the pies with the egg wash. If you like, decorate the pies with letters or cute little shapes! Poke a couple of holes in the top of the pie to ensure steam can escape.

Bake in the oven for 20 minutes, or until golden.

IMG_2898For another winter warmer try massaman shanks or lamb ragu.

If you’ve enjoyed this post please “like” it on facebook, or even share it. Thanks! x

Ragù!

IMG_2876The exclamation mark is there because ragù is SO good, it deserves an exclamation mark. Bolognese is my favourite meal…next to ice cream. I don’t love cooking with mince though, or at least mince I haven’t minced myself. So, I set about making a slow cooked version using cubes of rump or chuck steak. Lamb can easily be substituted as well. It’s really the same but takes longer than the typical Bolognese. The beauty of this recipe is that I can throw the pot in the oven and forget about it for a couple of hours. The results are…just delicious.

This recipe yields enough for at least 8 hungry dinner guests.

Ingredients

ragu ing


Method

Preheat oven to 180°C.

Cook steak in an ovenproof pot with 2 tbsp of oil until just browned on all sides. Remove from pan and set aside.

photoIn the same pan sauté onion, garlic, carrot, celery & speck until soft, about 10 minutes. Add steak to the pan and add the red wine. Bring to the boil for 5 minutes, or until wine has reduced. Add tomatoes, tomato paste, stock, thyme and bay leaf and bring to the boil.

Cover the pot and place in the oven for about 1.5-2 hours. Check on it after 1 hour for fluid levels. Top up with boiling water if getting dry. Check fluid levels every half hour the initial hour. The ragù is ready when the meat falls apart when poked with a fork.

Remove the pot from the oven and allow the ragù to cool slightly. Once manageable remove the thyme twigs & bay leaf and pull the meat apart with two forks. Season with salt & pepper to taste.

Serve with your choice of pasta. Check out the recipe to make your own awesome fresh pasta.

If you liked this recipe you might also like Heston & Meg’s Mac Cheese or why not try some Massaman shanks.

If you’ve enjoyed this post please “like” it on facebook, or even share it. Thanks! x

Heston & Meg’s Mac Cheese

I came across this revolutionary way of making cheese sauce on my way back from visiting James in Darwin. Heston Blumenthal’s series was available to view on the inflight entertainment. I managed to fit in the Cheese show. With nothing else to write on, I jotted down the steps on the back of a footy ticket.

Cheese sauce usually begins by making a roux of butter & flour. This sauce changes the rules…there is no butter and no flour. As Heston points out, the flour sucks up the flavour of the cheese…to get that delicious cheesey flavour you need to add far more cheese to get the same effect. Dad hasn’t ever really liked Mac Cheese, it’s too “gloopy” for his taste. However, he loved this version, he even went back for seconds.

It can be eaten as a meal by itself. However, we like to serve it as an accompaniment, particularly to steak.

Now, we all know how to cook pasta, but for this recipe I recommend a different way. Instead of cooking it in litres of water as usual, using ‘just enough’ water will make sure the starch from the pasta is not thrown down the sink. It will help thicken the cheese sauce and it will be deliciously creamy! This recipe calls for 250g of pasta, cook in just 550ml of water.

Ingredients

250 ml dry white wine
300 ml chicken stock
Parmesan rind
80 g cheese, finely grated (the choice is yours! I prefer to use tasty for a mid-week meal or Gruyere for special occasions)
1 tbsp corn flour
2 tbsp cream cheese
4 rashers short-cut bacon, diced
1 small can corn kernels

Method

Pour wine into a saucepan, bring to a simmer and reduce to 30ml. Remove from heat and add the chicken stock and parmesan rind. Rest for 20 minutes.

Coat the finely grated cheese in corn flour. Once the chicken stock mixture has rested, remove the rind and reheat to the point where the cheese will just melt. Remove from the heat to stir through the cream cheese.

Cook the bacon until just cooked. Add the bacon and corn to the cheese sauce.

Cook the pasta in 550ml of water until al dente. Keep a close eye on it so that you don’t burn the pasta (or pan). There will be no need to drain the pasta as there’ll be no water left! Stir the pasta through the sauce. If you like, sprinkle with more cheese and/or breadcrumbs and bake at 180°C for 15 minutes. Let the Mac Cheese rest for 5 minutes before serving.


Fresh Pasta

I know it’s easy to open a packet of dried pasta and dump it in a pot of boiling water, but for a little more effort you can make your own pasta…and the results are worth it!

I have the luxury of having a Kitchen Aid stand mixer with a pasta attachment. I knead the dough in the mixer and then with the electric pasta roller I have two hands free to feed and catch the pasta. However, you can easily knead the dough by hand (which I’m sure the purists would recommend) and roll out the dough with a rolling pin. Or, use a combination of both!


IMG_2764

The following quantity will feed 2 for a decent sized dinner.

Ingredients

fresh pasta ing


Method

Put the flour and salt in the bowl of the mixer. Make a well and crack both eggs into the well. Start mixing on low speed until all ingredients are combined. You may need to add a little water (just do it little by little, very quickly you can have too much!) if the mixture is too dry.

Increase the speed to medium and knead for a couple of minutes. The dough should be slightly sticky but not stick to your hands. Wrap the dough in cling film and refrigerate for 30 minutes to allow the gluten to relax.

Once rested it’s time to roll out the dough. First step is to laminate the dough. This means the dough needs to be rolled out on the largest setting (1) several times, folding it over each time and feeding it through again until the dough is smooth. Flour the dough as required, but try to avoid over-flouring. Keep feeding the dough through the rollers, decreasing the thickness each time. For pasta I roll down to thickness 4. Cut into strips of your desired width – tonight we’re making pappardelle – nice wide strips.

IMG_2774 IMG_2778


Cook the pasta in salted boiling water. It should only take a couple of minutes to reach al dente. Add to your favourite pasta sauce…tonight we’re having slow-cooked lamb ragù…deeeeelicious!

IMG_2780