We love naan but it’s not very easy to find in the supermarket (or good ones at least) when you’re making your own curry at home. And surprisingly it can quite often be disappointing from Indian restaurants, even if the rest of the meal is delicious. Andy has attempted naan before and it turned out like stodgy cardboard – yep, it really tasted as good as that sounds! I’ve always put it in the too hard basket until I received Short & Sweet: The best of home baking by Dan Lepard from my brother-in-law & partner for my birthday. I came home from work and gave it a crack, the only trick is that it needs proving time so I had to start fairly promptly once arriving home if we were going to eat the naan with dinner rather than have it for dessert.
It might seem like a lot of ingredients but there’s really not much to it, just throw them all into the mixing bowl. I used half this quantity as there was just the two of us eating and we managed to get 4 decent sized naan out of it. The original recipe caters for only 4-6 naan for a full batch but they must be super big…too big for our frying pan. You can make plain naan or brush it with a little garlic butter, sprinkle with different seeds, it’s up to you, but start with the basic recipe and you can decide if you want flavourings later as you only add those during cooking.
Makes 8
Ingredients
100ml cold milk
125g low fat yoghurt
50ml boiling water
1tsp dried yeast
300g plain flour, plus extra for dusting
50g wholemeal flour
0.5tsp bicarb of soda
0.75tsp sea-salt
1tsp sugar
Method
Combine milk, yoghurt, boiling water and yeast in the bottom of a mixing bowl. Add the rest of the ingredients and kneed until combined – I use my Kitchen Aid but you can easily knead by hand. It should be a soft sticky dough. Cover with cling film and prove for 30 minutes in a warm, draught-free place. Knock-down the dough (knead lightly) and then continue to prove for a further hour.
Lightly flour the bench top and tip the dough onto it. Divide the dough into 8 even portions. Working with one at a time roll out the dough until about 2-3 mm thick. The original recipe says to roll out to 1-2cm thick, however they puff up hugely in the pan and they were too thick and stodgy for our liking. The thin versions were still light and fluffy on the inside and crispy on the outside.
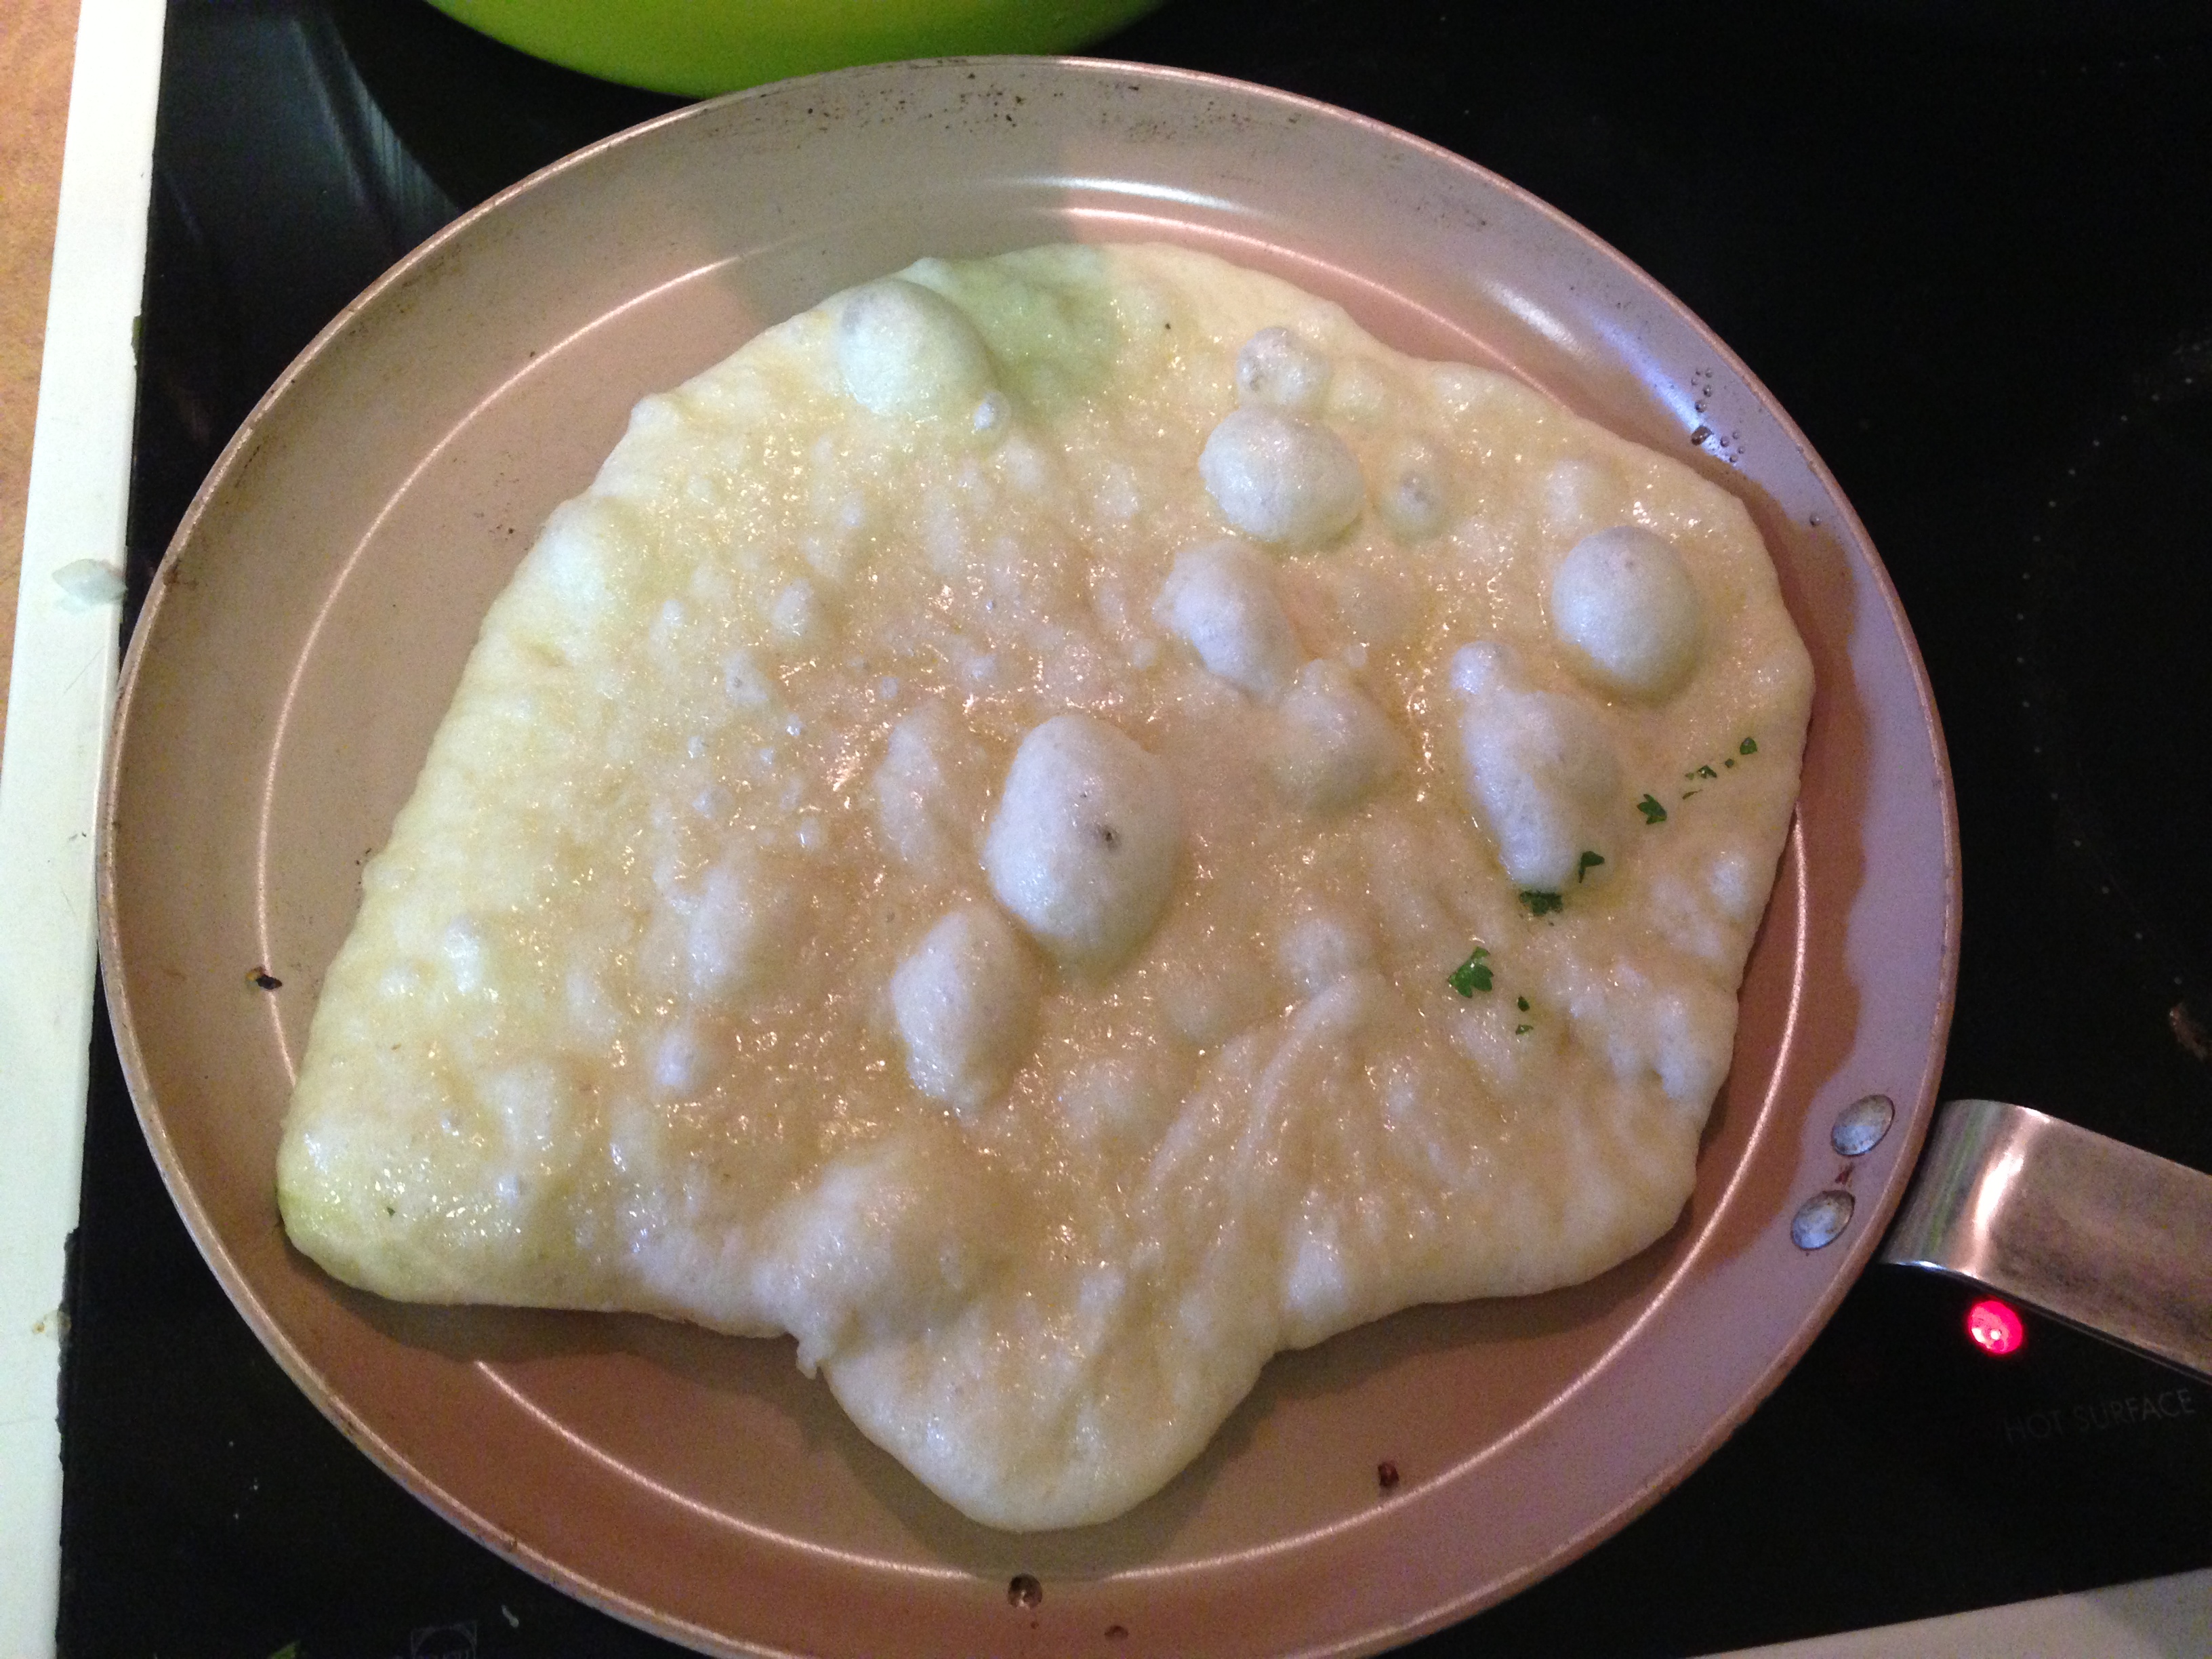
Rolled to about 2mm thick, it’s much lighter
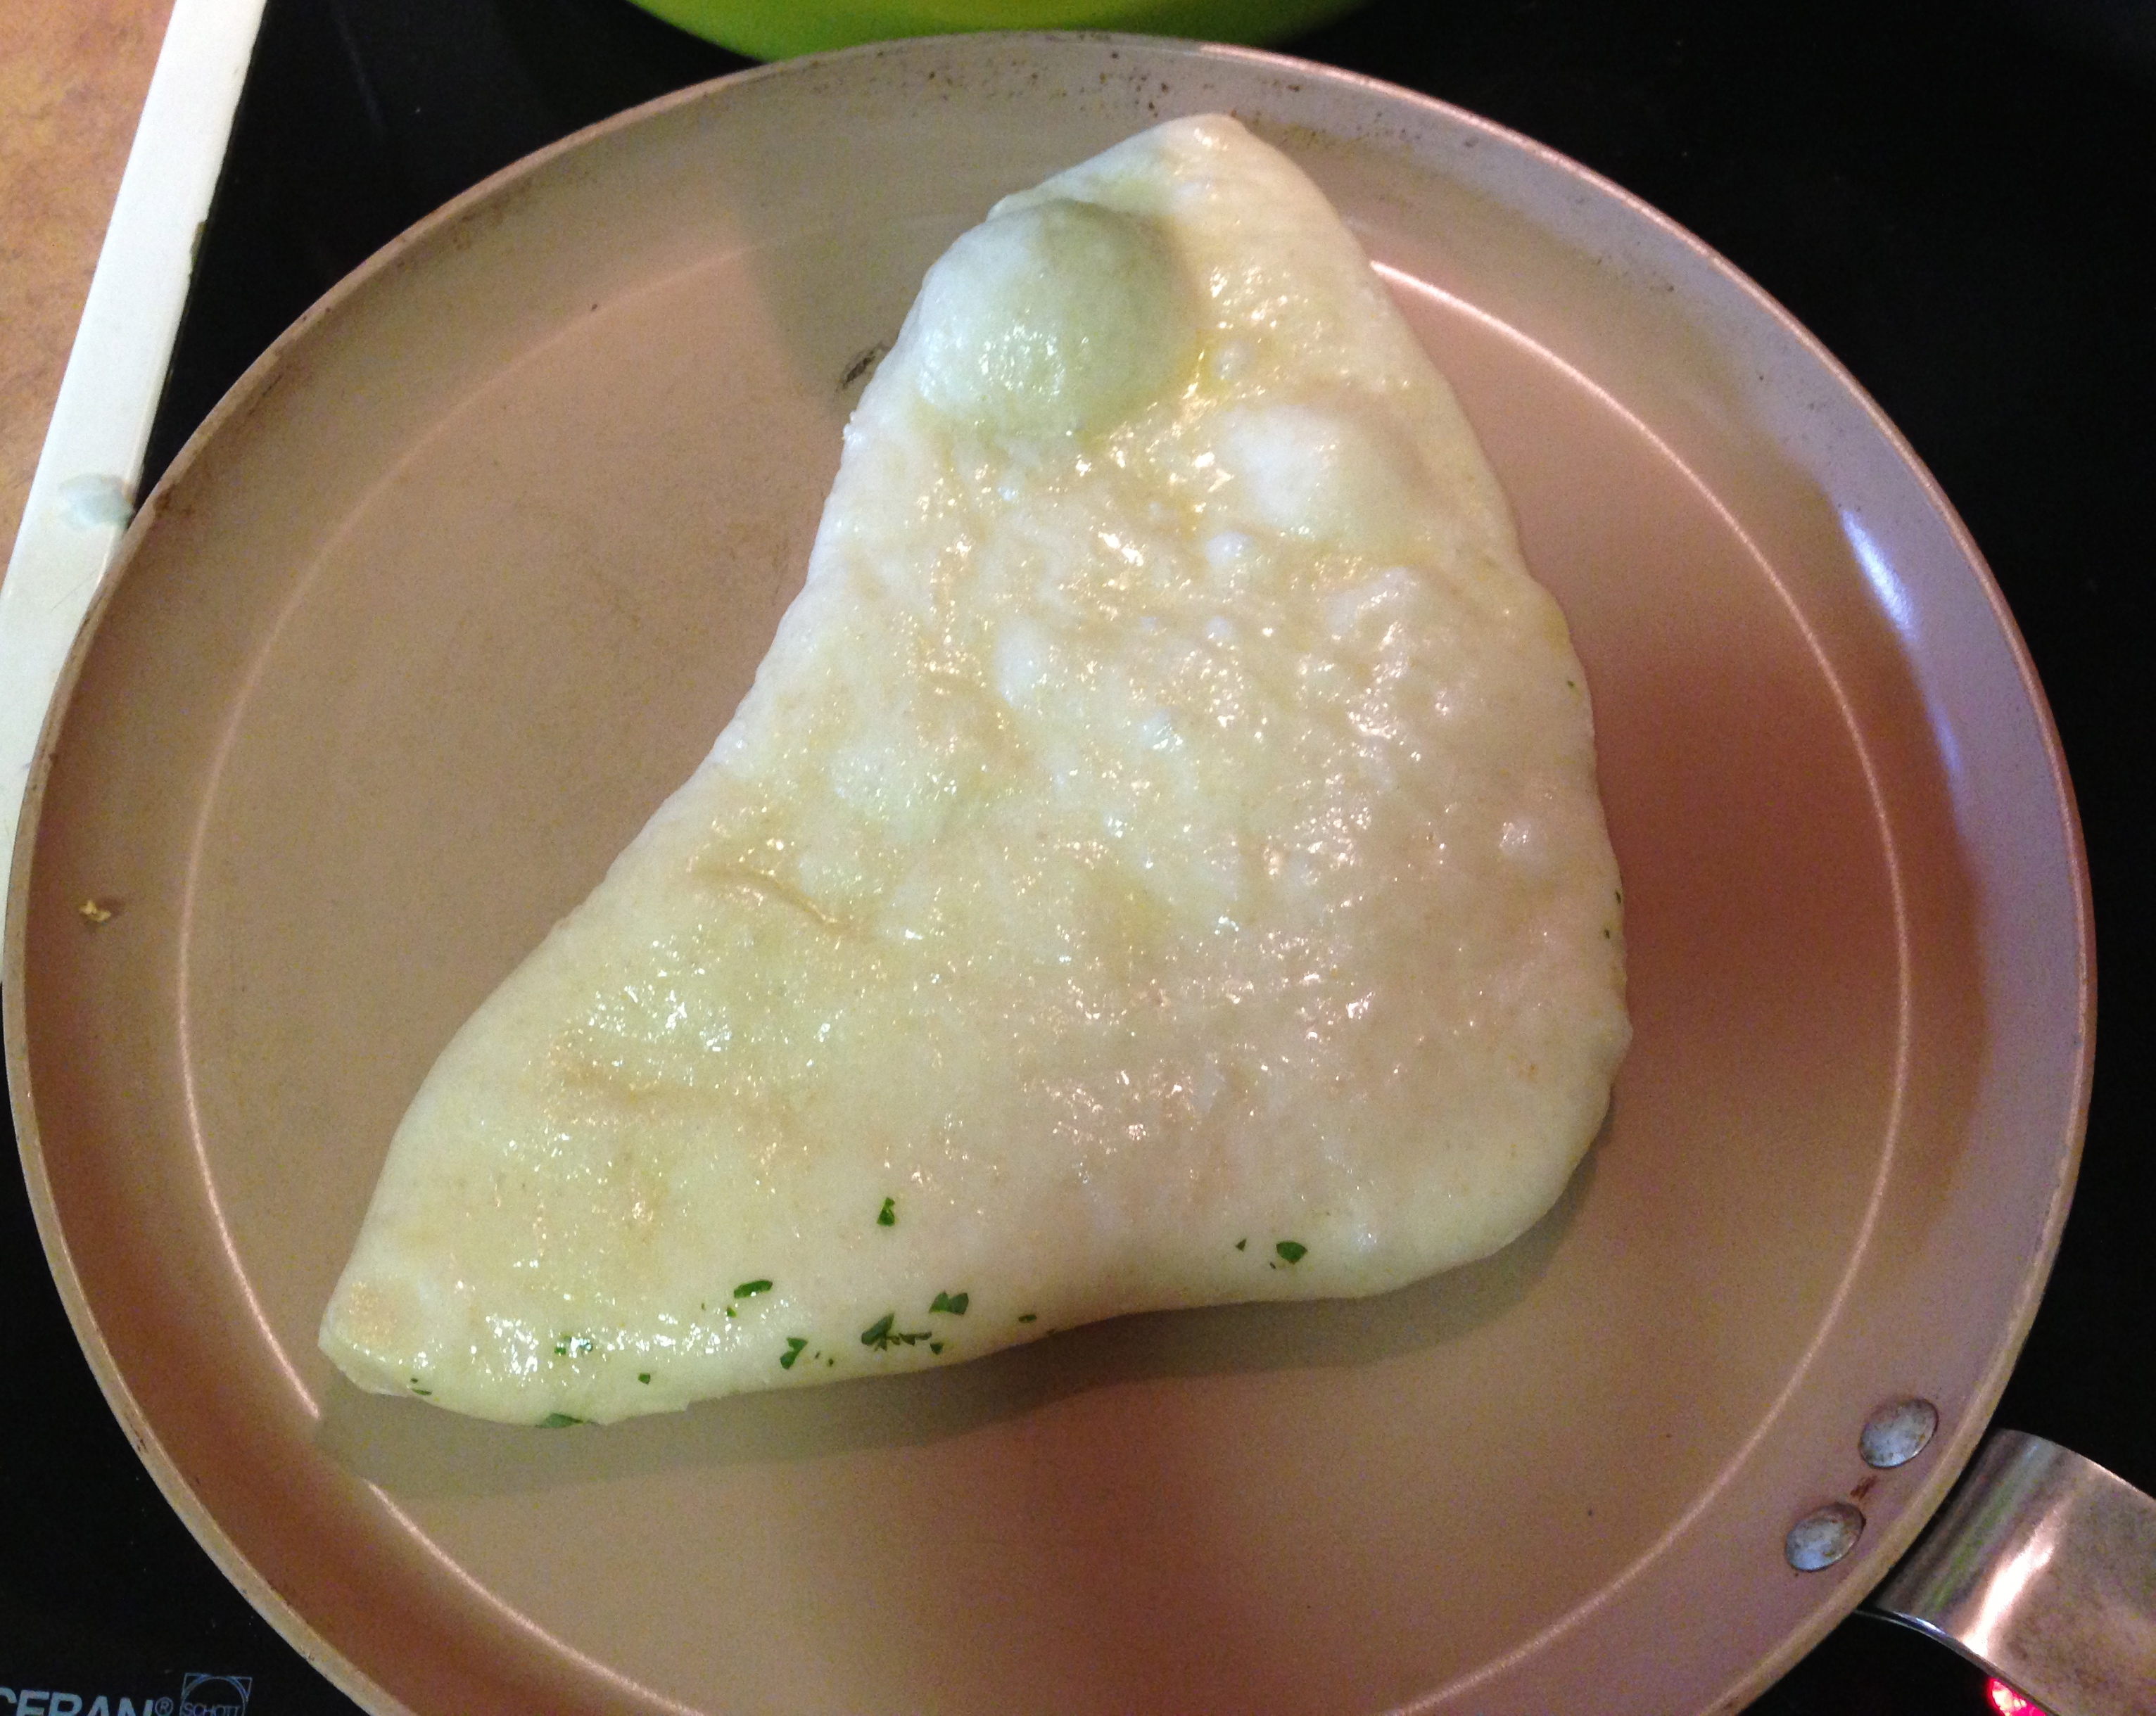
Rolled to 1cm thick it was very puffy!
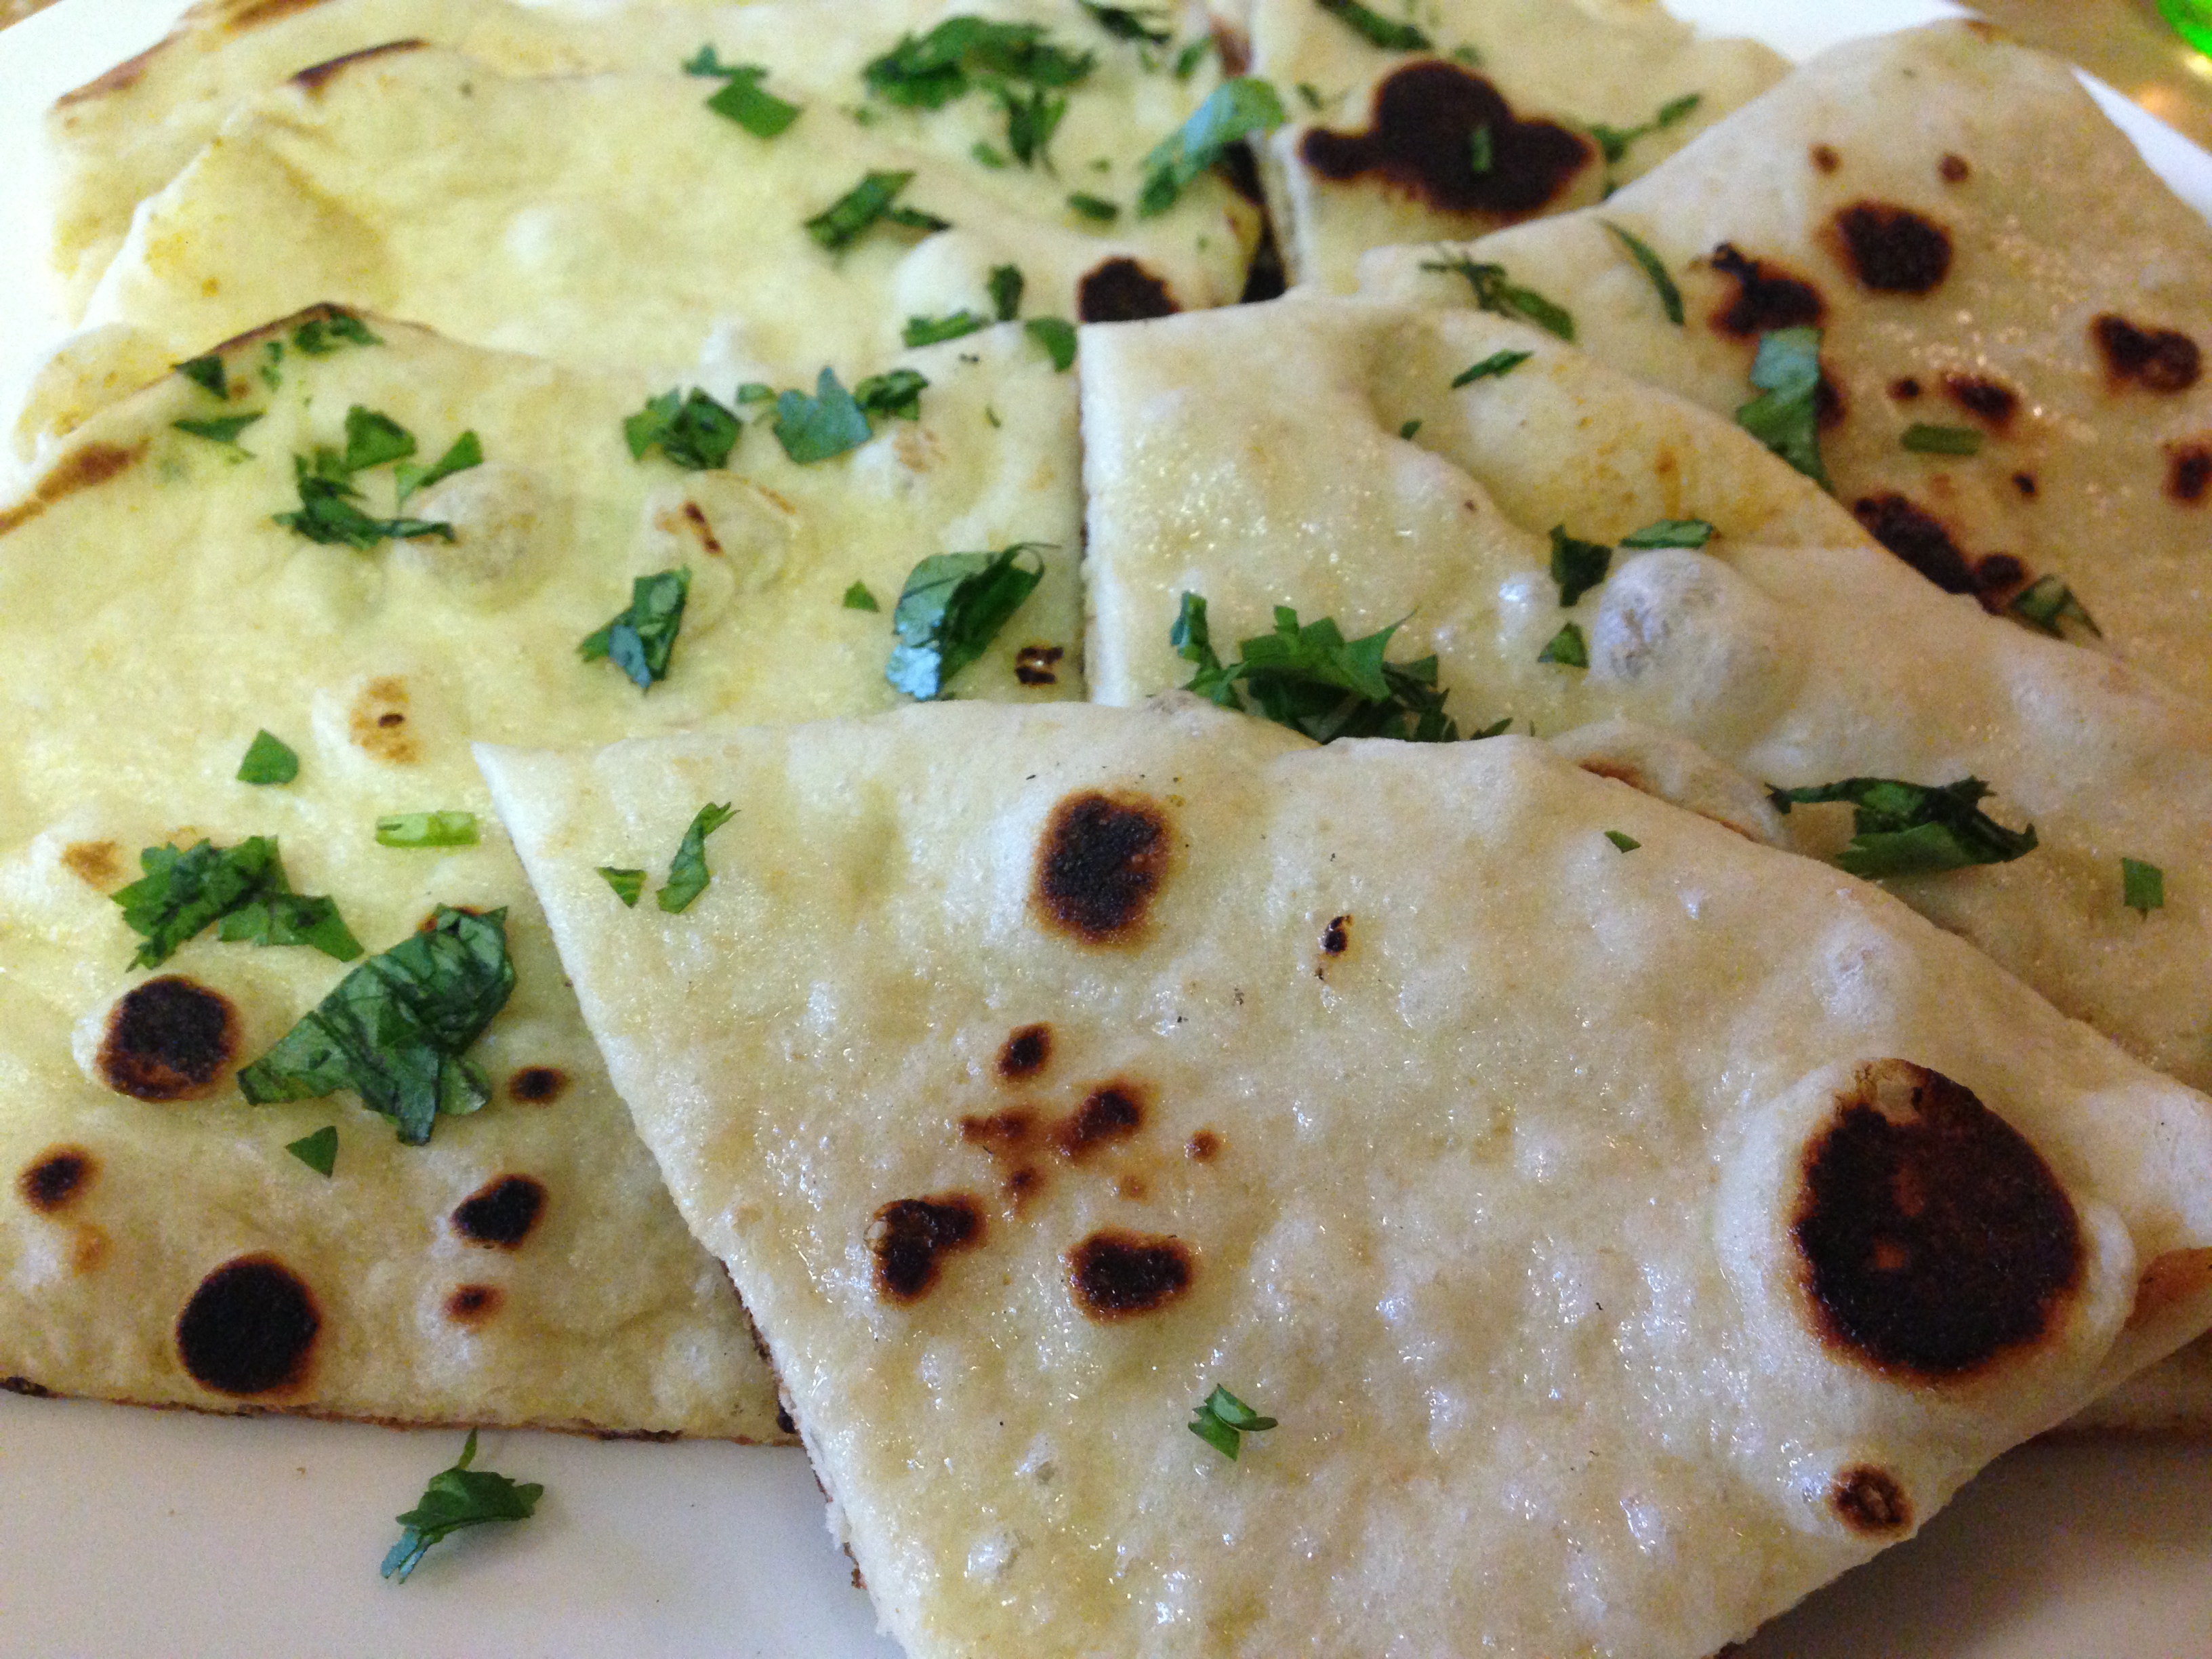
Heat a large frying pan on a moderate heat and cook the naan one at a time. Each naan only takes a few minutes on each side. If adding flavour do it now. When you first put the naan in the frying pan brush it with whatever you like. In this instance I had crushed a garlic clove into about 20g of melted butter. The naan with bubble on top and brown on the bottom. Once the naan starts to brown on the underside (this will only take about 2 minutes) flip and cook for a further minute. Keep warm while cooking the remaining naan, either in foil or in a warm oven (about 100°C).
Although I haven’t tried it, apparently they freeze well.
This naan is perfect for mopping up the juices of either VJ’s chicken curry, black pepper and yoghurt curry or mussamun shanks. Or you might have another favourite of your own! It would also be great served with dips for a light lunch or pre-dinner snack.
If you’ve enjoyed this post please like it on Facebook, or even share it. Thanks! x