Healthy Muesli Slice

20140126-070257.jpgDespite my morning muesli or bircher muesli habit I can’t make it from breakfast to lunch at the moment. Something about eating for two it seems. I had developed an unsustainable muffin habit. Nipping across the road to the bakery when I got a chance in the morning had become too easy. Something needed to be done so I decided I would try and find a healthy alternative and I love this one!
Most muesli slice recipes I found were packed with butter and sugar, not this one! I eventually found a good healthy base and tinkered with it to come up with this. It has some honey for a little sweetness, oil for fat and egg for binding. The rest is pure goodness. I can make a tray (20 cm square tin) of this and it will last me over a week, it keeps really well in an airtight container for over a week.
You can add whatever dried fruit and nuts you like, just be careful not to alter the quantities too much so that it still all binds together when baked. I have also been thinking of substituting the oil for melted butter – it’s not that much after all. The LSA meal can be bought pre-made or you can make it yourself with equal quantities of linseed, almonds & sunflower seeds. Just grind them up in a food processor, which is what I tend to do. Only make what you need as once you’ve ground it up the fats are exposed and may go rancid if not used soon. Keep any left over in the fridge.
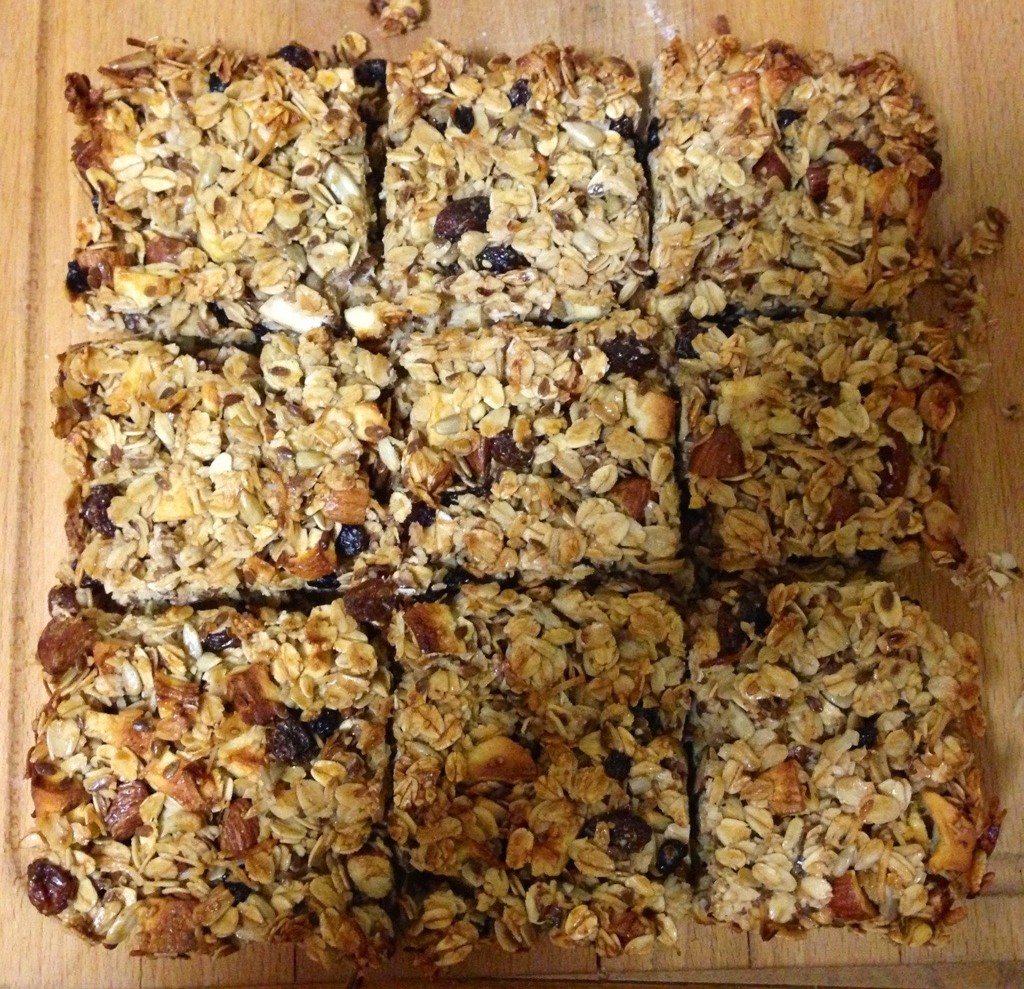
Makes 9 squares

Ingredients
60g LSA meal
230g rolled oats
20g sunflower seeds
15g shredded coconut
35ml olive oil
65g honey
2 eggs, lightly beaten
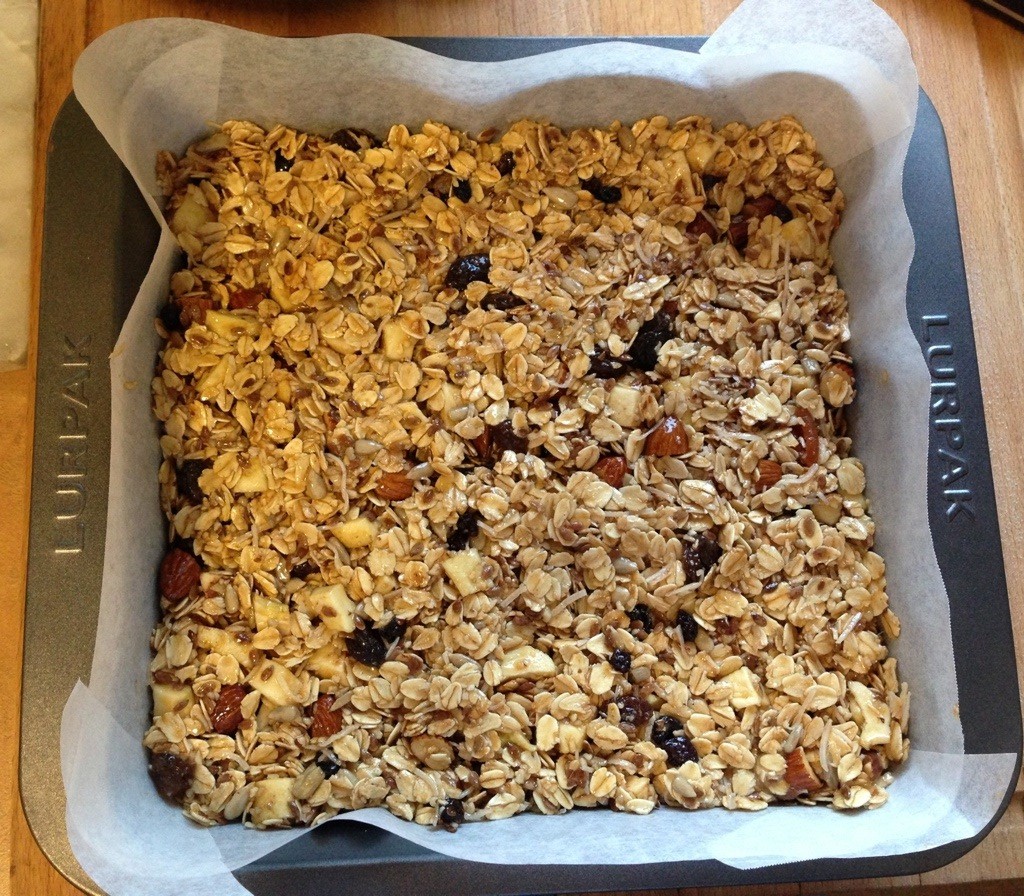
80g dried fruit (in this picture I’ve used chopped dried apple, apricots, sultanas & currants)
30g roasted almonds, chopped (can be substituted for another nut, such as roasted cashews or hazelnuts)
1 tsp vanilla extract
1/3 tsp cinnamon

Method
Preheat oven to 180°C.
Combine all dry ingredients in a mixing bowl, then add the oil, honey & egg. Make sure that all the dry ingredients are  coated in the wet ingredients. Pour into a lined square baking pan and pack down in the back of a spatula.
20140129-060308.jpg
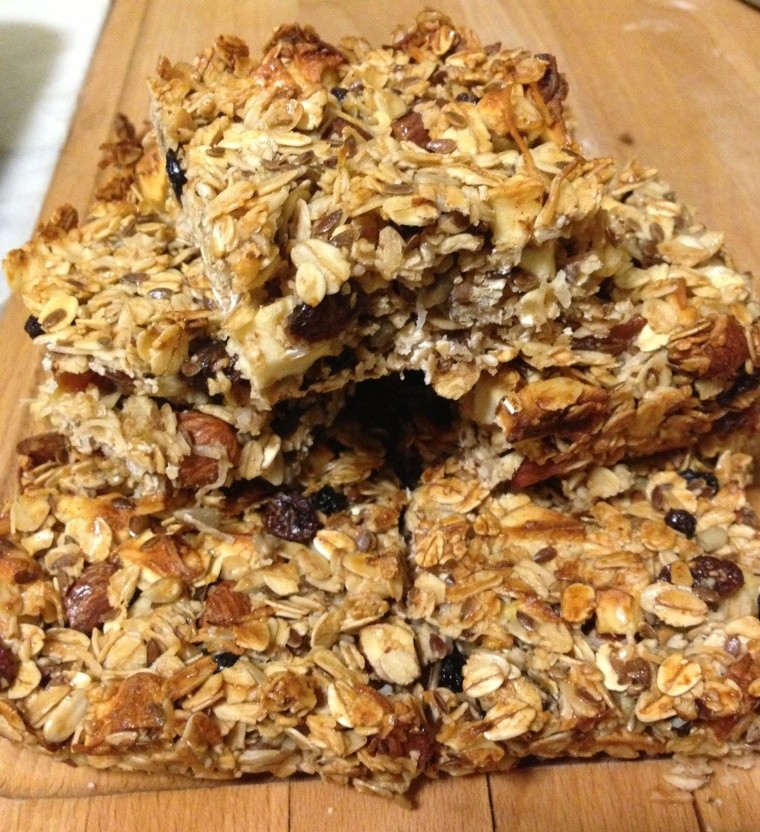
Bake for 25 minutes, or until golden. Allow to cool for at least 15 minutes before removing from the pan to cool completely. Cut into individual portions. Cutting into 9 gives me the perfect portion for a morning snack!
20140129-060257.jpg

Looking for a different morning snack, but one that’s also not tooooo bad for you? Try the Rhubarb & Apple muffins.

If you’ve enjoyed this post please like it on Facebook, or even share it. Thanks! x

Galette des Rois

IMG_3805
The Galette des Rois (King’s cake) is the traditional treat/pie/cake used to celebrate Epiphany in France. It’s basically an almond cream sandwiched between two sheets of puff pastry…how can you go wrong?! Although Epiphany usually falls on January 6th, the Galette is usually available throughout January in French patisseries. I may have missed January 6th for this post but at least it’s still January! When I was 15 I went to France on exchange for 3 months – luckily I didn’t come back home until the end of January. I loved the Galette so much we had one almost every single day at lunch.  It is just so delicious and to my surprise quite easy to make!
There is a fun little ritual that goes with it too. Hidden inside the Galette is a fève – typically a dried kidney bean or a small little ceramic trinket. The bakery who made the best Galette (in our opinion) had obviously stocked up on little ceramic boats, therefore I also have quite the collection of boats!
IMG_3831
Anyway, the Galette is cut into portions and the youngest member of the party is to hide under the table as to not sneak a peak of where the fève may be hiding in the Galette . Once divided the host points to a portion and the youngest will be asked “pour qui?/for who?” This continues until everyone has a portion. Whoever gets the fève is then the king or queen for the rest of the day. When purchased from a bakery you will typically be given a paper crown to take home with your Galette. How fun!

Ingredients
2 sheets puff pastry – fresh or frozen, whatever you’ve got on hand
100g sugar
100g almond meal
100g butter, chopped & chilled
2 eggs
1 tbsp rum (optional)
egg wash (1 egg & 100ml milk)

Method
Preheat the oven to 180°C.
Defrost the puff pastry if using frozen.
To make the filling put sugar and almond meal in a food processor. With the motor running add the chopped butter and beat until the consistency of breadcrumbs. Still with the motor running add the eggs and rum. Process until combined. If you don’t have a food processor simply combine the sugar and almond meal. Rub the butter into the mixture with your fingertips until it resembles breadcrumbs. Beat in the eggs and rum.
Lay out the pastry and cut a 21 cm round and a 24 cm round. Place the smaller round on a baking tray lined with baking paper. Pile on the filling and spread it out leaving a 1.5 cm border around the edge. At this point hide the little fève in the mixture, pushing it down so that it won’t be evident through the pastry. Brush the edge with the egg wash and lay the other round on top, gently sealing the two layers together around the edge. Using a sharp knife decorate the top in any pattern you like. Poke some holes through the pastry for steam to escape during baking. Brush with egg wash.
IMG_3803
*Tip: When dealing with puff pastry try not to brush with egg wash on the sides of the pastry – this will limit the pastry from rising to its full potential.
Bake in a oven for 25 minutes, or until golden brown. Allow to cool before serving.

If you’ve enjoyed this post please like it on Facebook, or even share it! Thanks x


Peppermint Choc-chip Ice Cream

IMG_3815
It was pudding’s birthday recently. What do you buy someone who lives in Darwin where it’s always hot? An ice cream maker of course! So it’s about time I get an ice cream recipe up here so he can actually use it!
Peppermint choc-chip is my all time favourite ice cream. I was in the garden this afternoon watering the veggie patch and noticed the peppermint I planted a couple years ago, and subsequently relocated to a pot, was taking over the strawberries…again. Hot tip: Never plant peppermint or mint in the garden, always plant it in a pot. No matter how many times you think you’ve ripped all of it out, it reappears! So I didn’t need much more of an excuse to apply the freshly picked peppermint to a good use.
Makes about 1L of ice cream

Ingredients
250ml milk
500ml cream
150g caster suger
Bunch of peppermint or mint, leaves picked
6 large egg yolks
90g dark chocolate, or milk if you prefer

Method
In a heavy-based saucepan combine milk, sugar, 250ml cream and peppermint leaves and bring to the boil. Remove from the heat and steep for half an hour. Pour the mixture through a sieve and push as much flavour out of the peppermint as you can, or want to.
Reheat the milk and cream mixture until just boiling. Meanwhile, whisk the egg yolks in a separate bowl. Once the milk mixture is ready whisk into the egg yolks. Pour back into the saucepan and heat over a low heat, stirring constantly. The mixture will thicken, don’t take your eye off it, and is ready once it reaches 80°C or the mixture coats the back of the spoon – if you run your finger across the spoon the mixture shouldn’t run back together.
IMG_3802
Remove from the heat and whisk in the remaining 250ml of cream. Chill the mixture and churn in the ice cream machine according to manufacturer instructions.
While the ice cream is churning melt the chocolate in a double boiler arrangement. Once churned pour the ice cream into a container little by little.  Drizzling the chocolate over the ice cream, like you’re creating layers through the ice cream. When scooping the ice cream it will break up into delicious little chunks. Place in the freezer for a couple of hours to properly set. YUM!
IMG_3809

If you’ve enjoyed this post please like it on facebook, or even share it. Thanks! x